|
When we moved into our house, we painted the cabinets mint, and updated the hardware, sink and lighting, but that was kind of the extent of phase one. Slowly appliances have been replaced, but we knew the counters needed a complete overhaul. However, the budget was tight, we weren't sure what we wanted. There was also the uncertainty of not knowing what can of worms we were opening by digging into a real renovation. 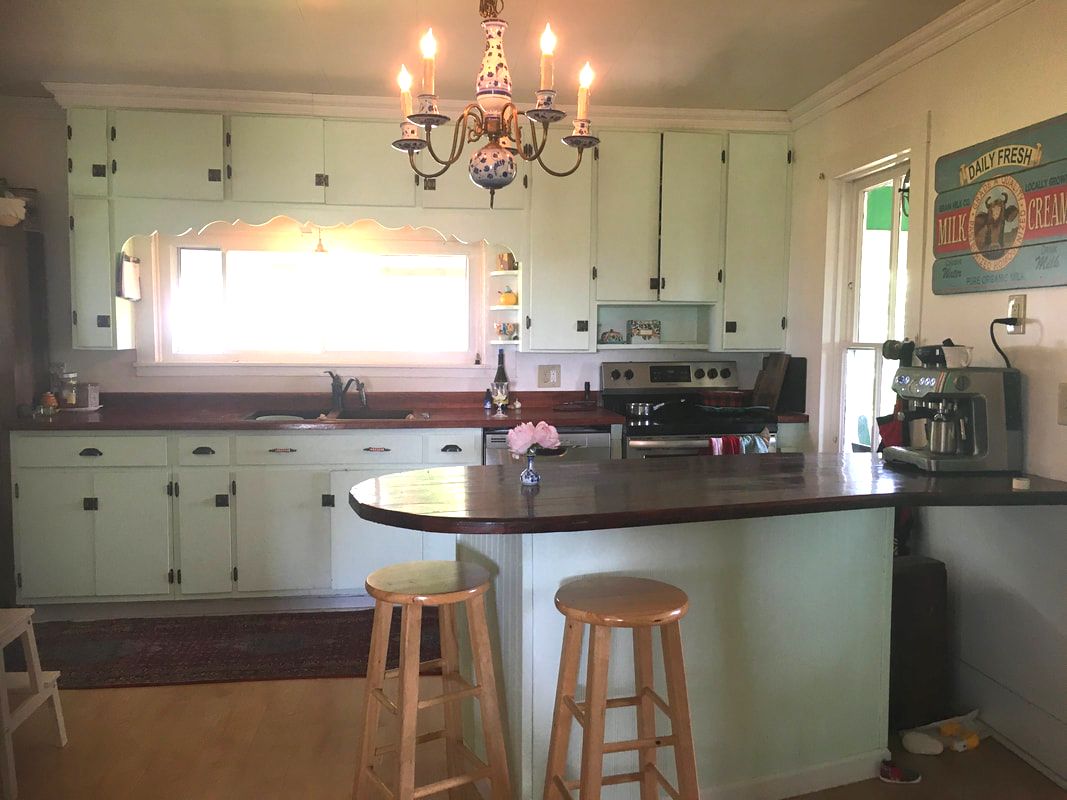 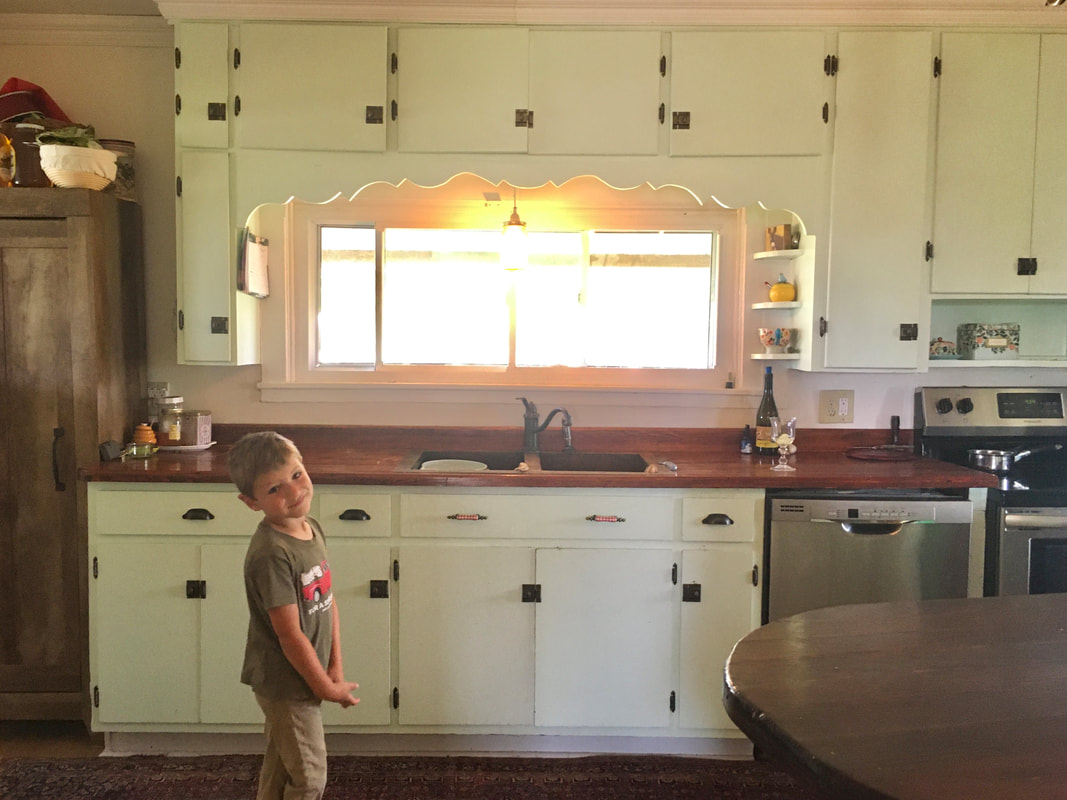 A few months ago, I convinced Danny to simply swap the counters for real butcher block. Our counters were tongue and grove boards made to look like butcher block, and coffee grounds and spills had been falling between the cracks in the boards ever since we moved in. Nothing was level anymore, and the polyurethane sealer was pealing up making the counters impossible to clean. I told Danny if he could just build me a basic table with a butcher block counter on top and a hole cut for the sink, I could be content. He finally agreed, and that very night the faucet started making a weird sound. Within a week, it went from creaking, to very hard to turn on, to too lose, to completely broken and we had to use a screwdriver to turn it on and off. After a week of the screwdriver getting harder and harder to use, we just began shutting the water off at the shutoff valve under the sink. The dishwasher had already been broken for about a month, so losing my working sink wasn't easy. Now we clearly needed to address the kitchen issues and there was no turning back. 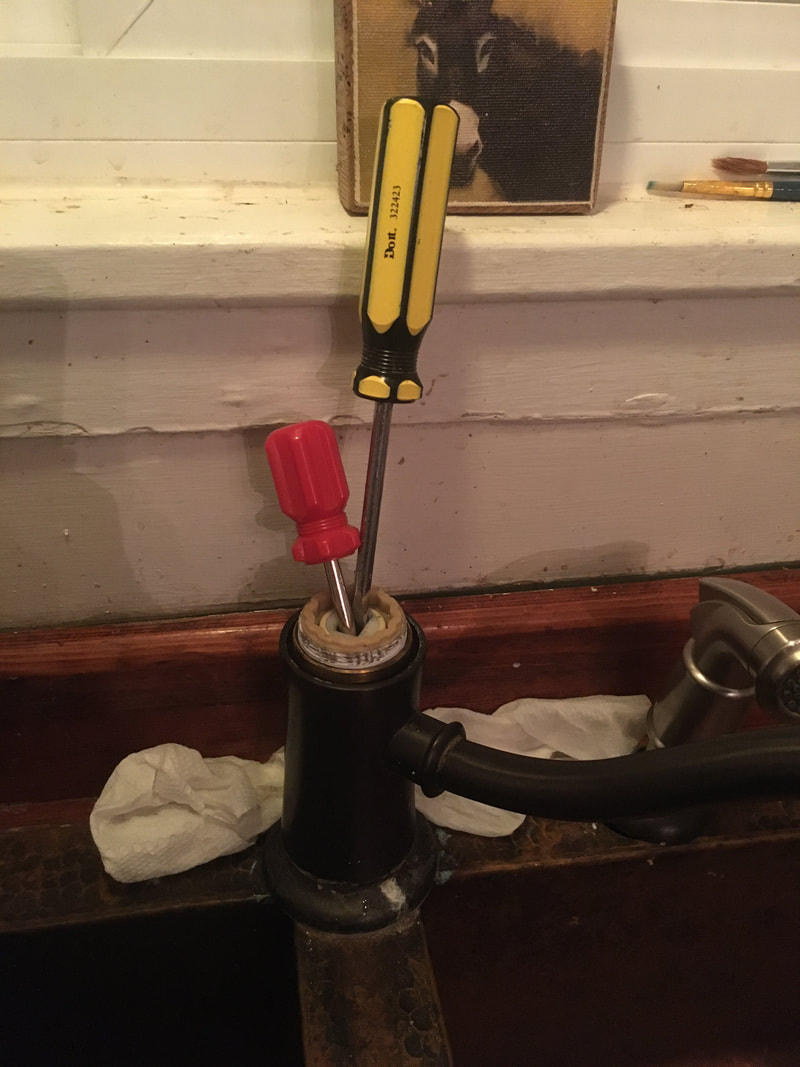 Thanks to the shortages and supply chain issues, what we thought would be a 2 week minor annoyance, was a little over 6 weeks of no sink and dishwasher. By the time everything arrived, I really didn't care what it would look like, as long as things got fixed. My kids' allergies make it impossible for us to eat out, so no matter how tidy we tried to be, there were still 3 meals each day that had to be prepared in the house. Danny was convinced he could have the whole thing up in running within a day, and he managed to do exactly that on my birthday. He built the table a week in advance and had it waiting in the laundry room. I emptied the cabinets and little Danny helped remove all the hardware, that way when Saturday morning came, demo could immediately start. We knew the cabinets had water damage, so there was no salvaging them, and I was a bit worried about what we would find underneath. 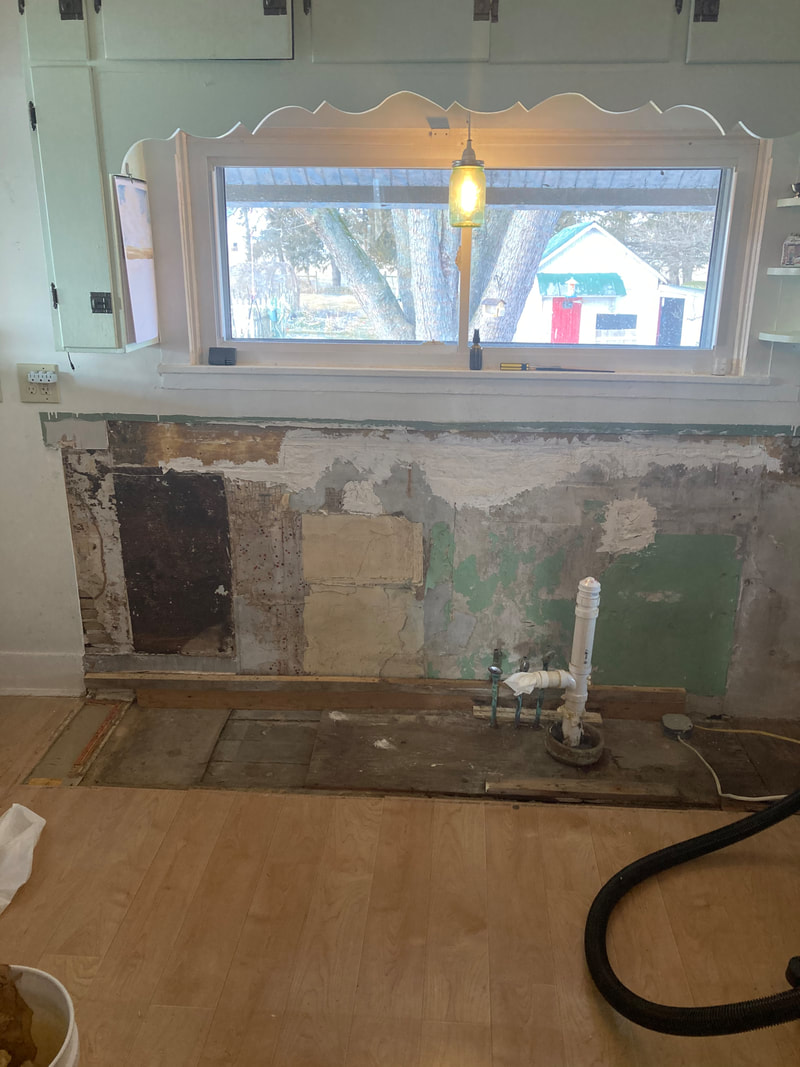 In removal of the cabinets a giant hole was uncovered in the floor. Danny was a bit annoyed, but I was just thankful there was nothing like a raccoon nest uncovered. I knew there would be a set back, but this honestly seemed pretty mild. We did find out why there was such a cold draft coming in under the sink. However, that draft is probably why the crawl space and cabinets weren't filled with mold from the water damage, so I thank God for that draft. Danny ran to the store to get some boards to run over the hole, and agreed that come summer, we probably need to just rip out the laminate floor. I've always hated the yellow laminate, so I was trying to keep my excitement down. 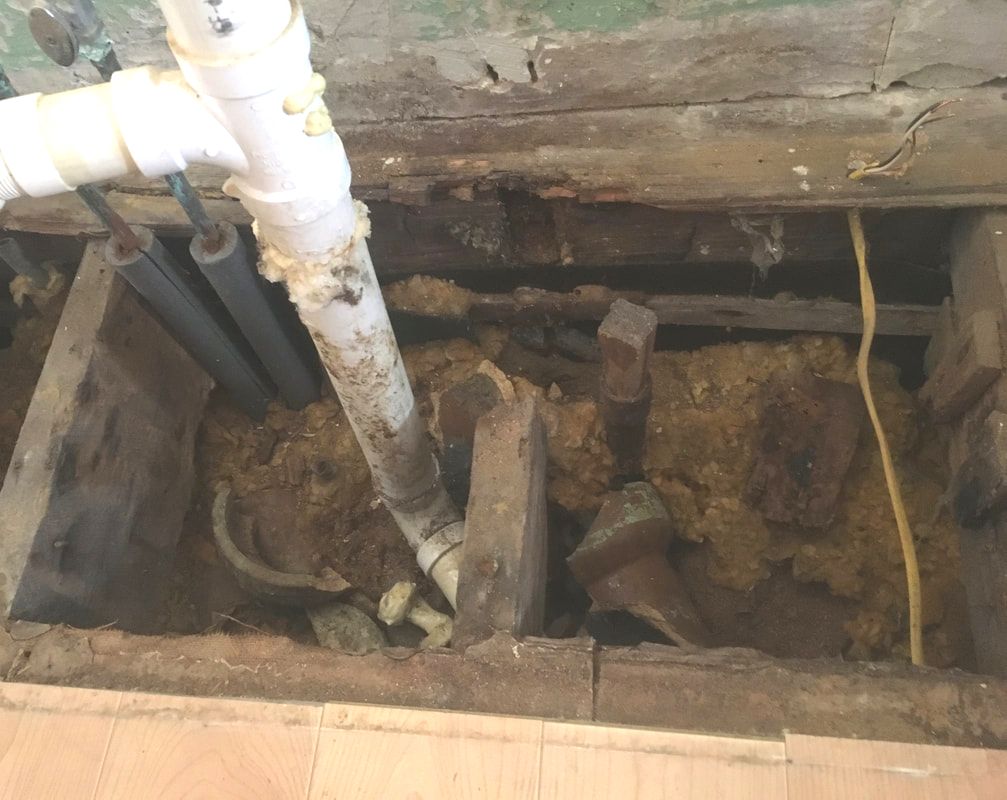 One thing I insisted on was centering the kitchen. It was all off and wonky, weirdly getting more and more off center as you got towards the oven wall. Everything got a good 4-6 inch adjustment to the left, and now my oven actually sits appropriately under the upper cabinets. In moving things over, I also gained enough space to the right to have some decent storage. Danny added a table leg and leftover piece of butcher block to fill in the space. I approved running the wood grain in the wrong direction for the corner piece. We could have purchased an entire second piece of butcher block for the corner, but that just seemed wasteful for something that may be a temporary fix. It doesn't bother me, and an old farmhouse tends to have weird quirks where people made due when the budget was tight. This wouldn't be the first weird thing in the house. Below is a photo of how far off center the oven was. It used to be over to the white paint. When something is that off center, it is pretty noticable. 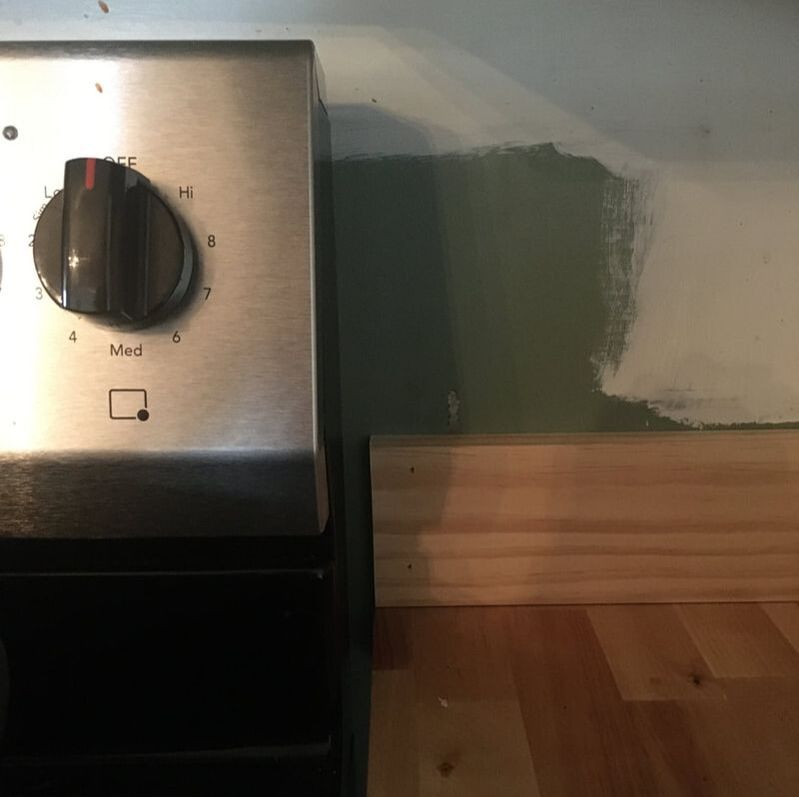 We sealed the counter with a non-toxic food based butcher block sealer, that way we can cut right on top. We went with a sealer from Green Building Supply, which is also where I get all of our paint. There are no toxins or mineral oil, and it gives the counters a warm honey glow. Yes the counters will mark and stain, but to me that shows a kitchen is well loved and used well. 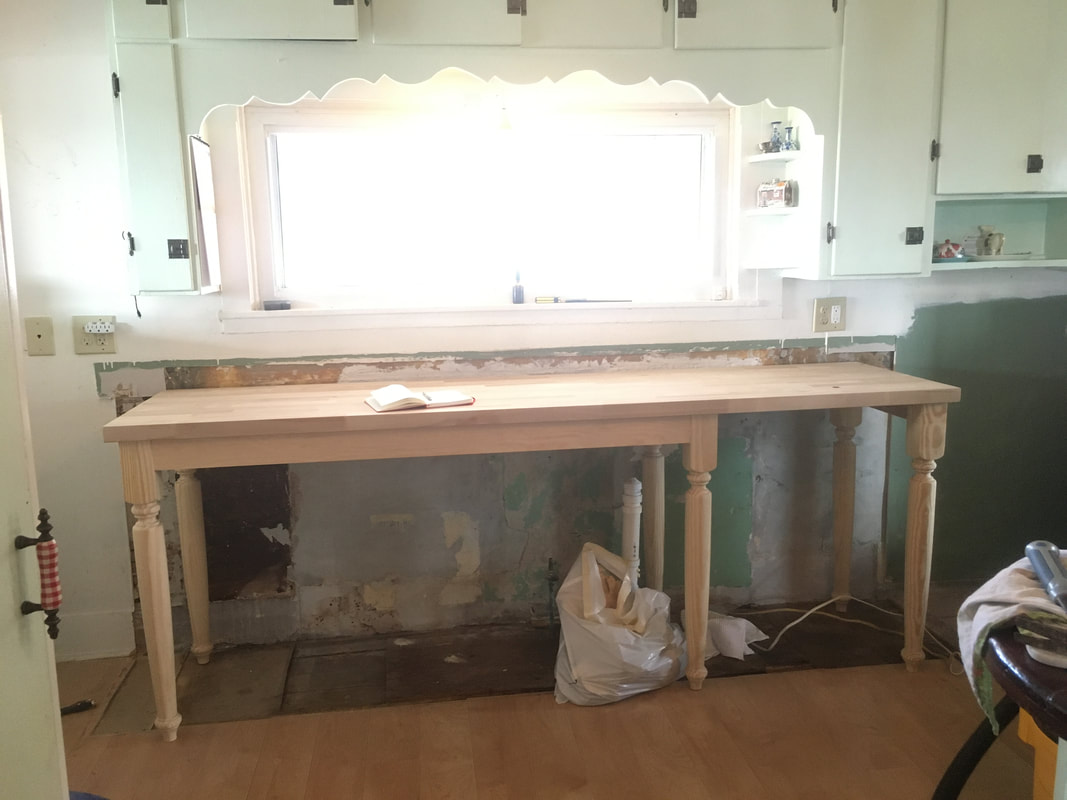 Despite this being dishwasher number five, we finally purchased our first one. All the others were free rejects from friends and family. We didn't mind used or mismatched, but the last one eventually conked out on us. We weren't thrilled about the price of a new one, but we figured it was about time we had to buy our own. Our last one, although very new, didn't really clean the dishes well. I used to tell everyone to think of it as a sanitation machine and the dishes had to be completely spotless going in. My mom and sister both love their dishwashers, so I knew what I wanted. The new machine is very quiet, and the buttons are hidden on top away from curious fingers. It has a stainless steel interior, and most importantly, it has THREE racks. There is so much more space inside! Our model also has a delay time, which is something we use regularly. The previous machine taught us to clean well and use minimal dishes, so the new machine is benefitting of our learned habits. I used to run our old machine every time I left the house and over night. 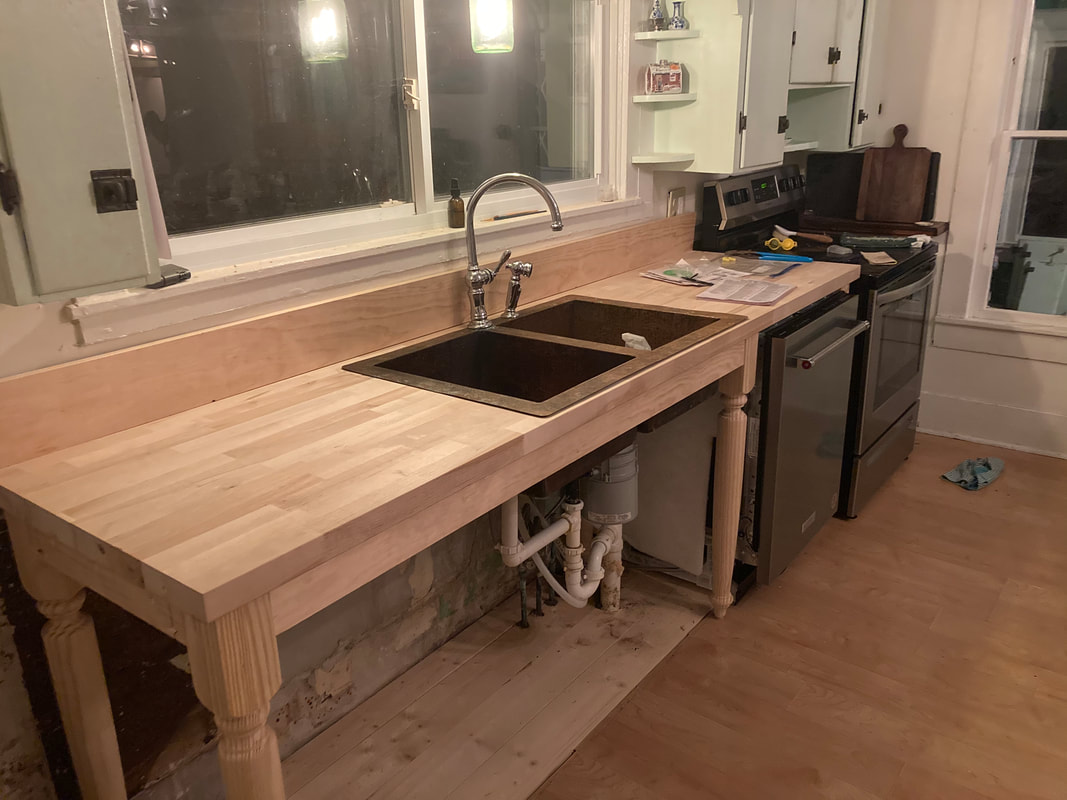 My brother in law got us a great deal on a Ferguson faucet, and despite it not coming in the color I wanted, I love the look. I wanted the lacquered brass look, but I also refused to give up my copper sink. Since the sink already had a predrilled hole, I was limited on my selection of faucets. Unfortunately, everything that would work was $2000+, so I let go of the brass and went with a chrome. Although chrome wouldn't have been traditionally the finish in the home, I stuck with a simple Georgian style shape and I honestly really like it. That gooseneck will be wonderful for hanging cheese to drain. I'm probably the only one who has searched for faucets based on their cheese draining ability, but those are the fun things you get to think about when you take so many years to plan a kitchen. 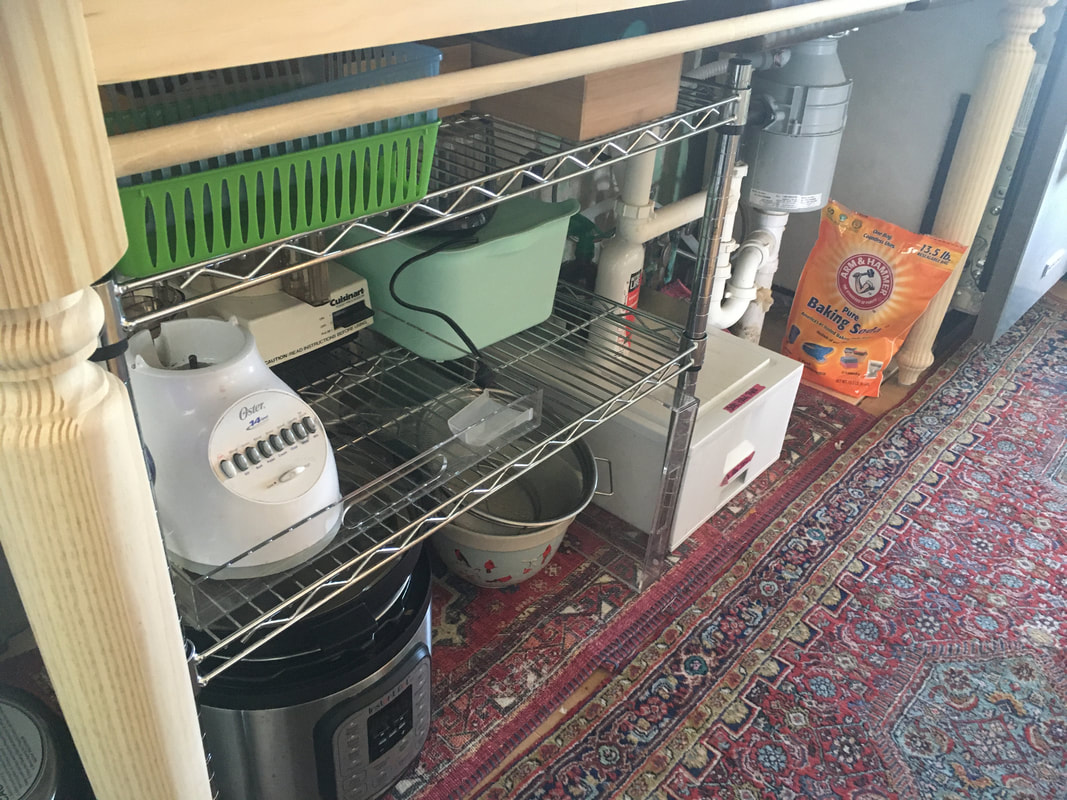 I ordered some commercial restaurant shelving for underneath, and two cheap rugs to hide the weird floor boards. Baby loves to dig dirt out of the cracks in the floor, so I knew I needed something to hide the temptation from those little fingers. I just overlapped the rugs to get them to fit and chose to embrace the imperfection. No one is really looking under there except for the baby. 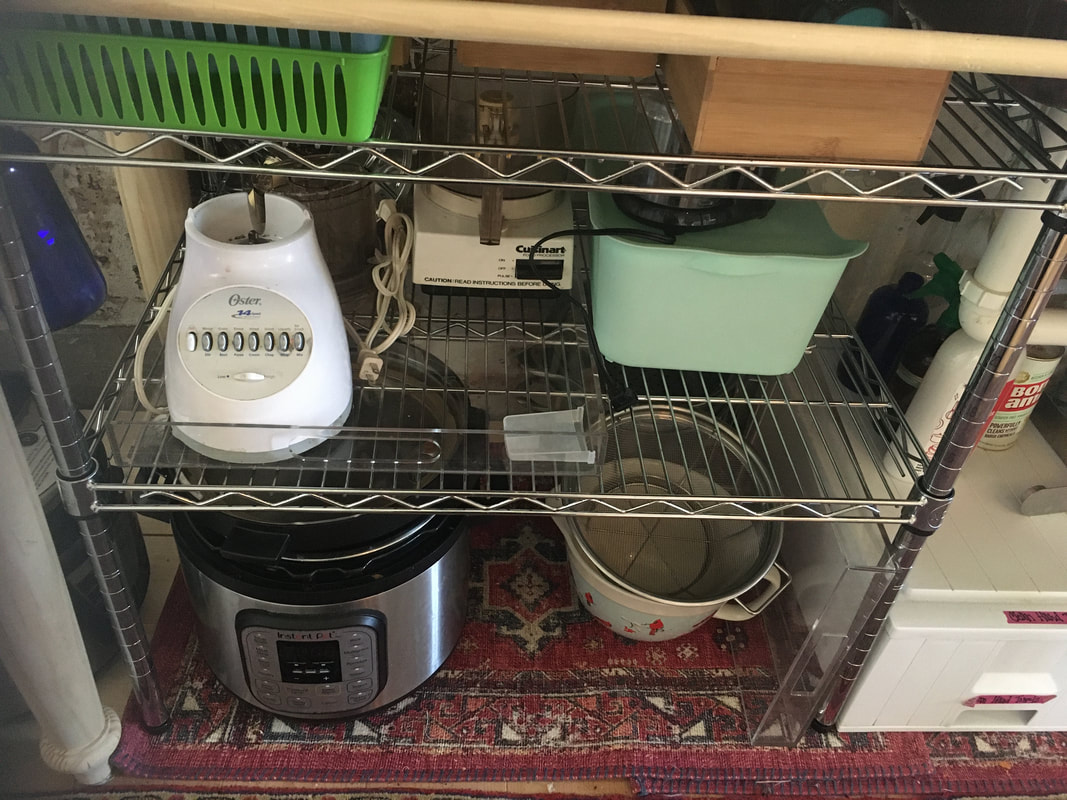 By the end of the day, I had a working sink and dishwasher. I feel like it all seems like such an improvement, even with the exposed pipes and disposal. I'm going to skirt the table so everything will eventually be hidden and we're going to place a second oven to the left. So yes, now there is exposed plaster, old wallpaper remnants, a weird floor under the cabinets, and exposed old wall color, but I am so giddy over the update. To be honest, I'm super impressed with Danny's skills, the precision and detail he put into the work. Home projects are fun, but you can expose everyone to a lot of toxins in the process, and it always leaves me a bit uneasy. Danny was so clean in how he did the whole process, even I was shocked. He mounted the disposal switch back underneath for me, something I hadn't even realized would be an issue, and really took time to think of every detail. When we bought this house we both knew nothing about home maintenance. It is really fun to see how far he's come and what he has learned to do over the years.
0 Comments
Our Very First Look when we visited the house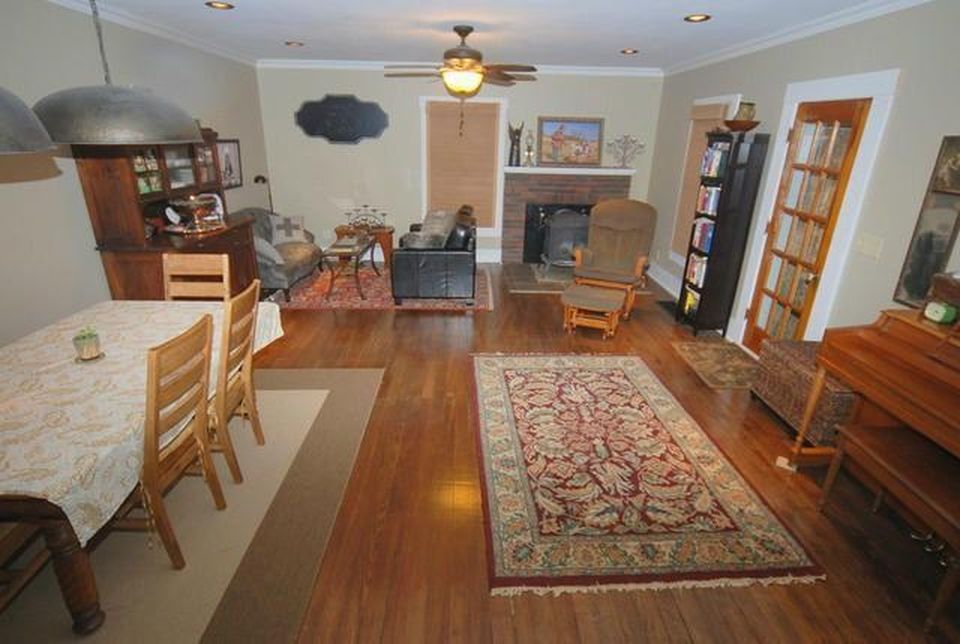 move in and lightened floors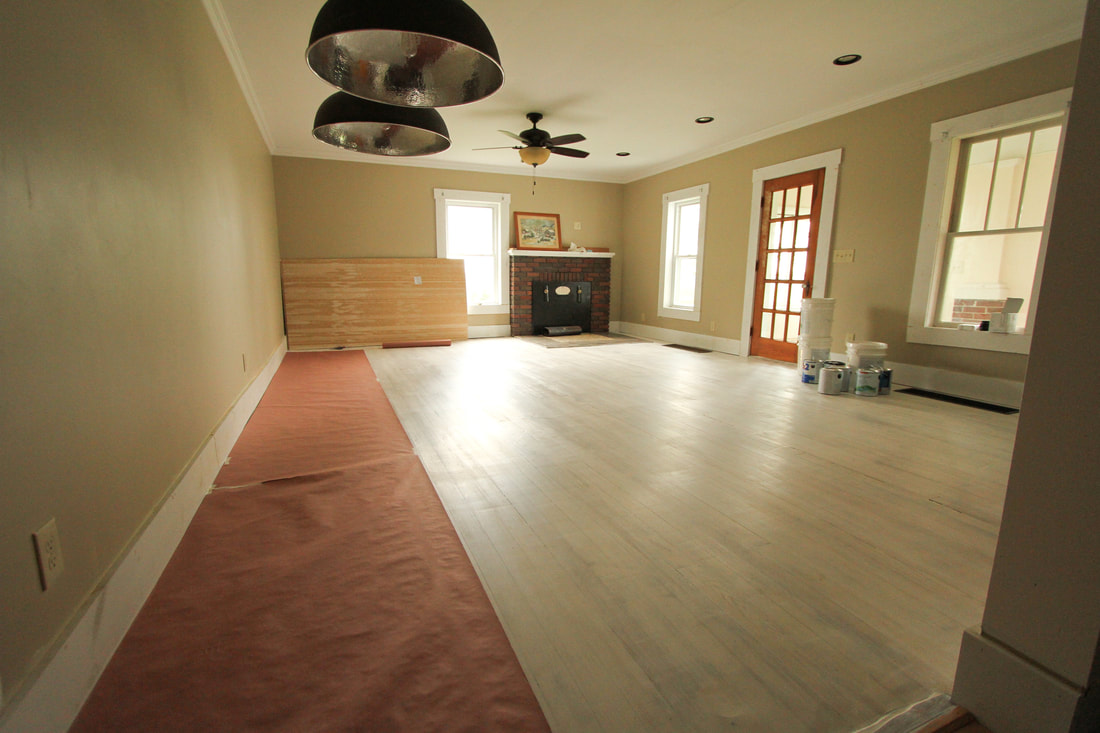  New Wood Stove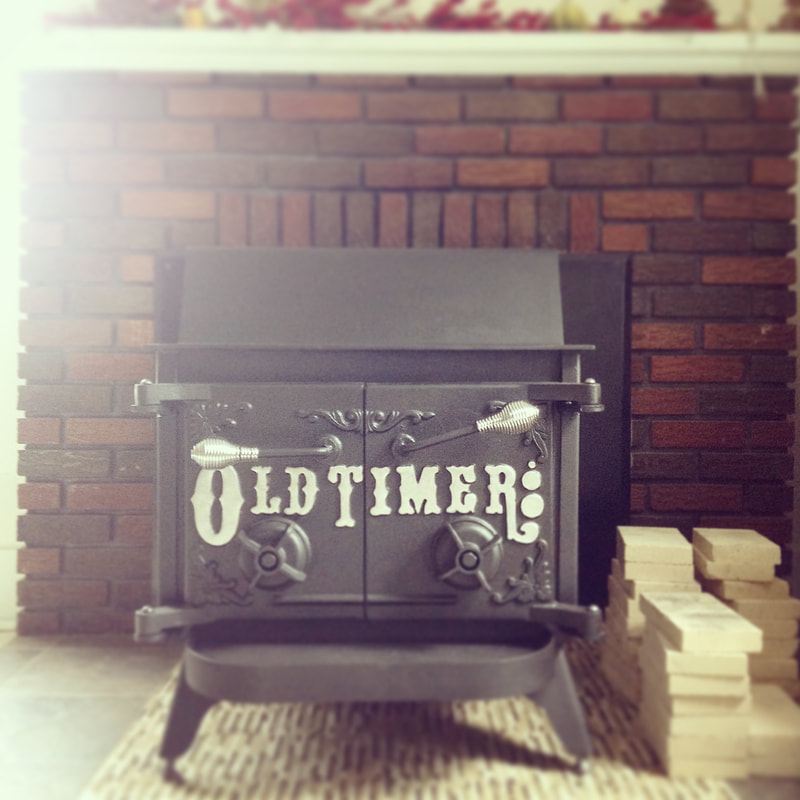 First Christmas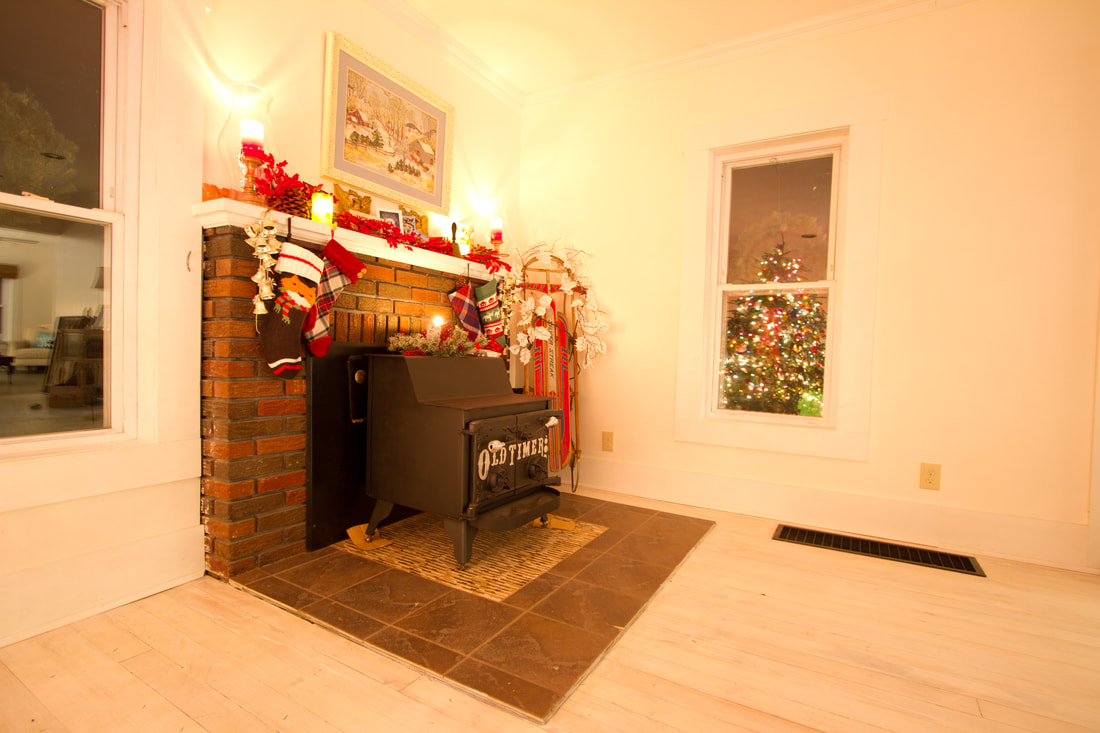  Finished Project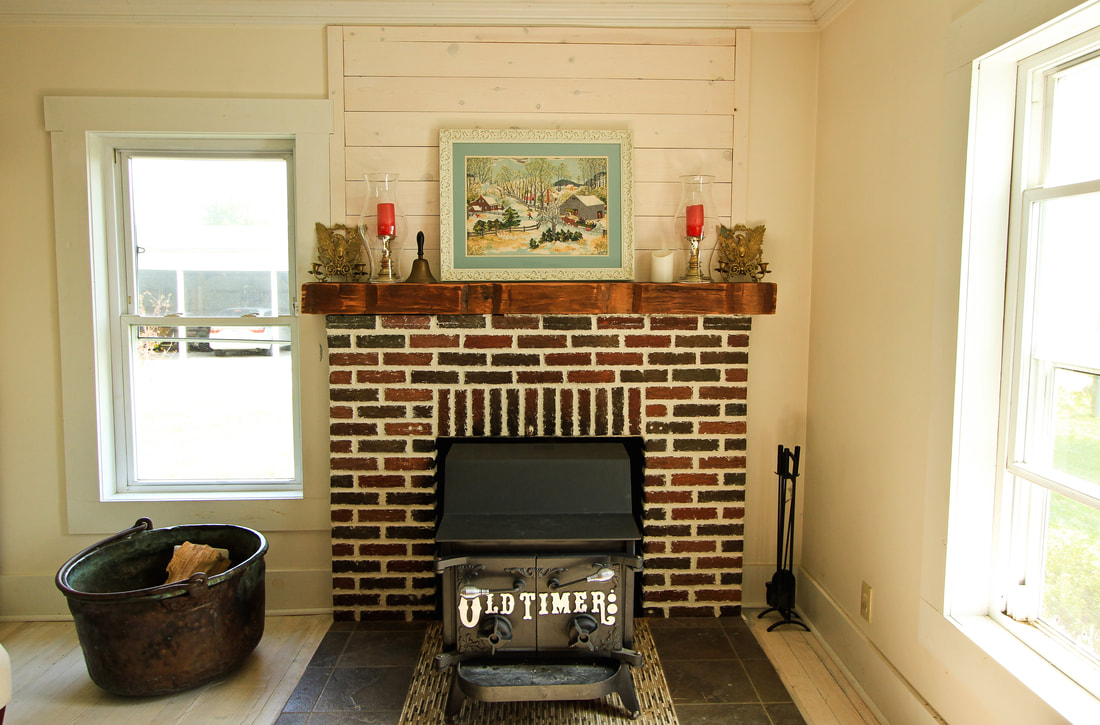 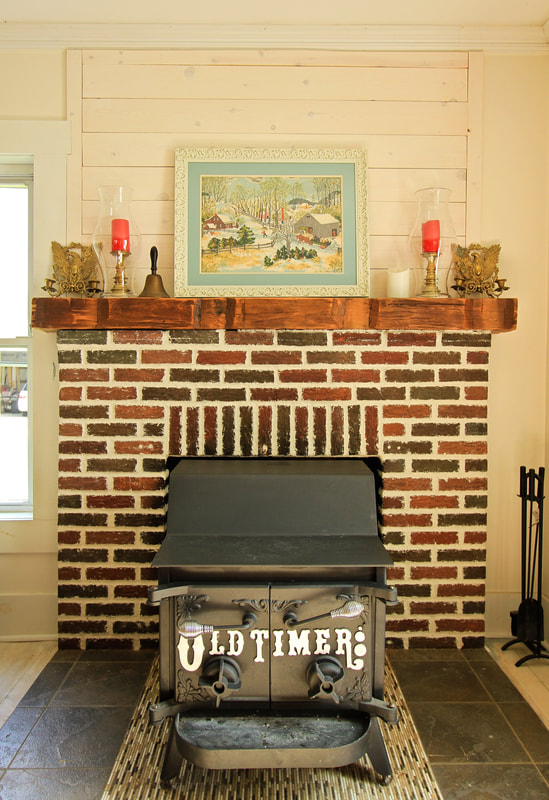 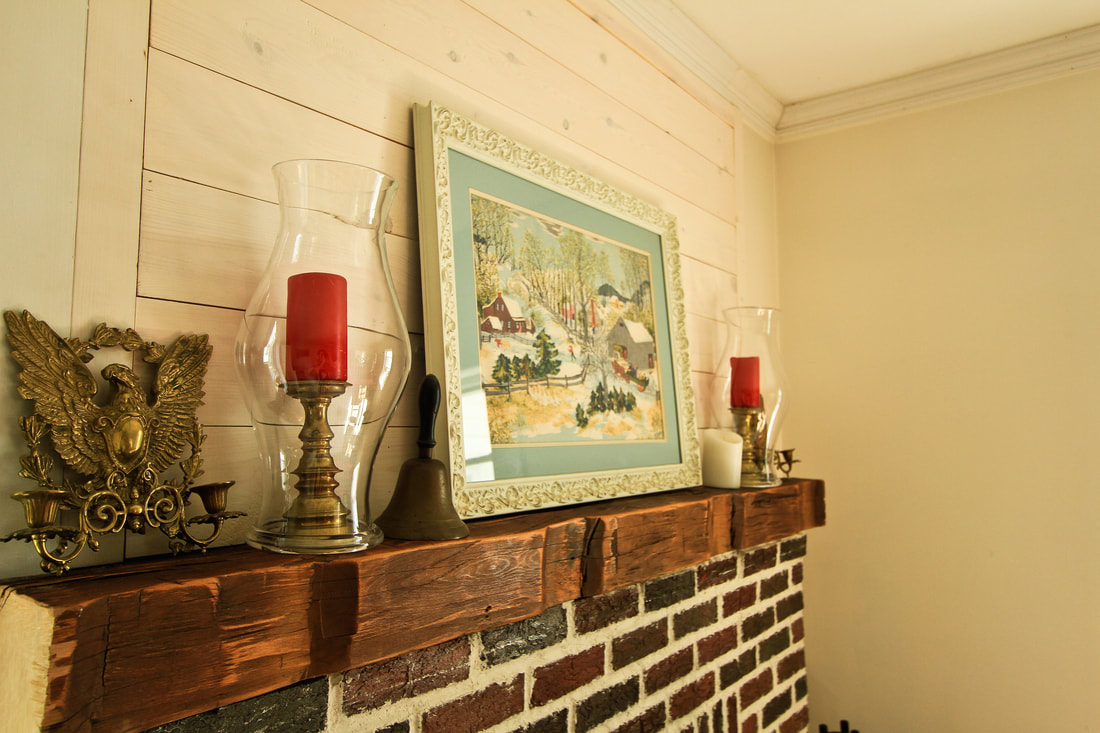
Oh my this may be my most favorite project we've done yet. I love when you vision actually works out just how you want!
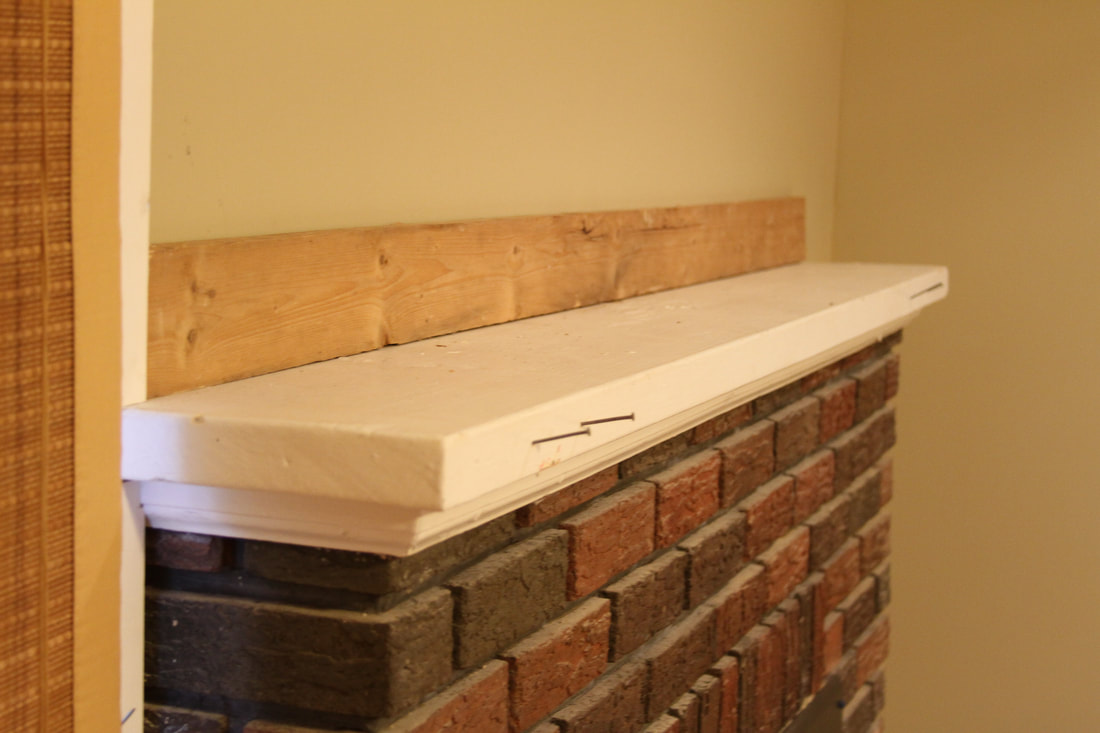
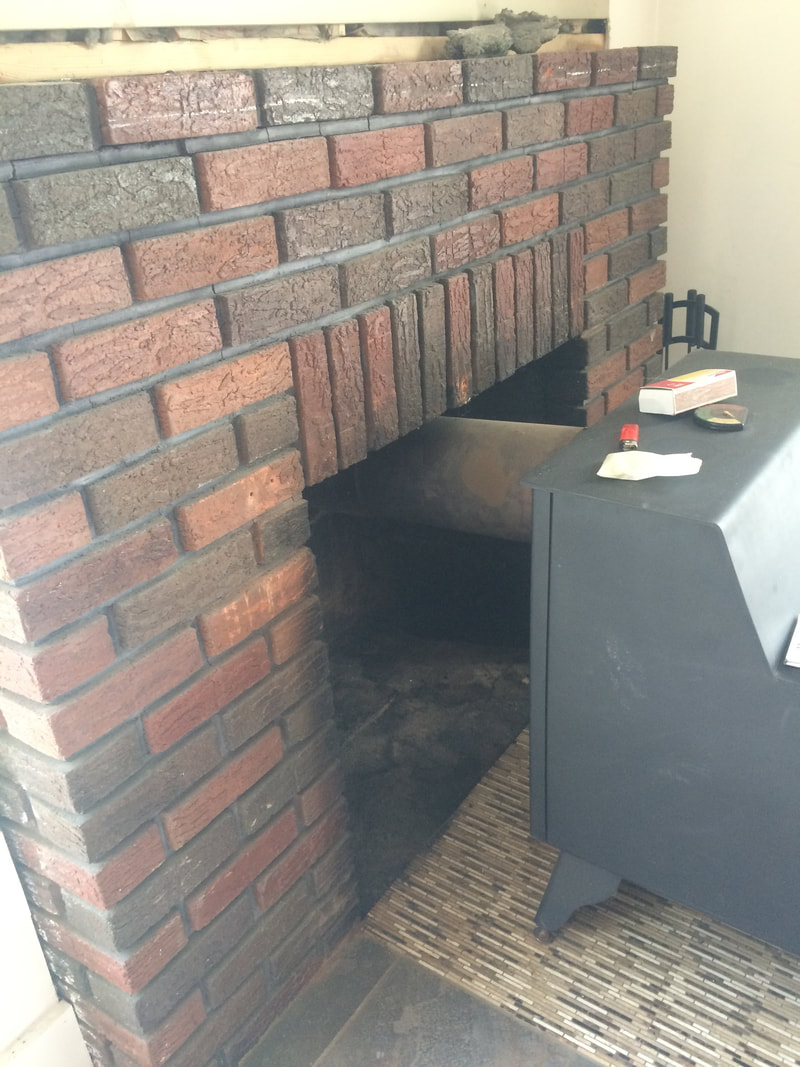
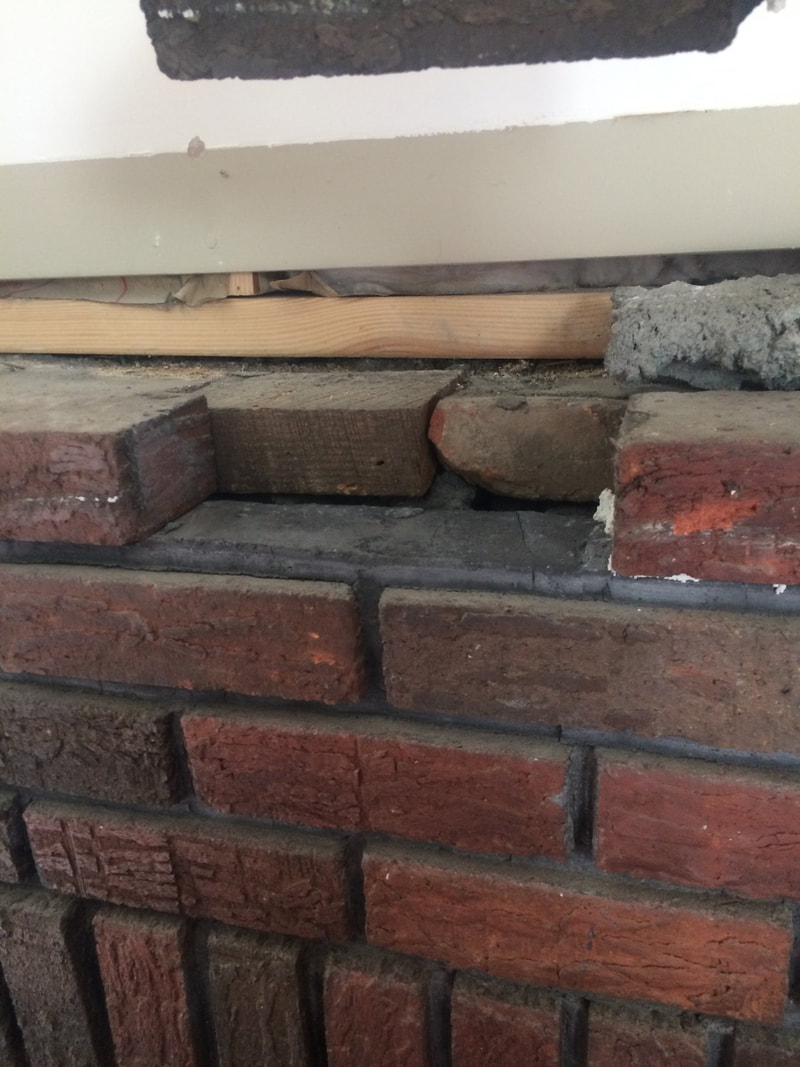
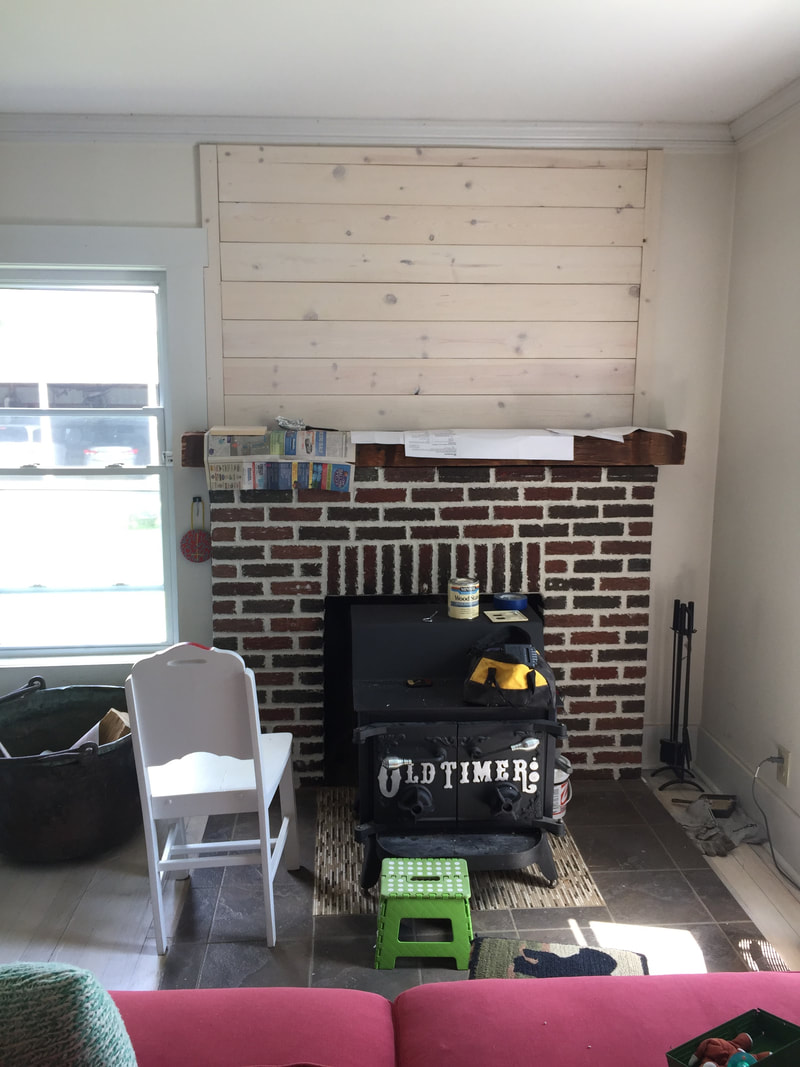
 I never was a huge fan of our fireplace, which was a shame, because a real wood burning fireplace was a must have on our list when we bought the house. The brick and mantel just looked cheap and it didn't have that old home feel, but it was a working fireplace so we figured someday we could fix it up to our liking. The mortar was grey and didn't come to the edge of the bricks, which meant spiders and dust filled the gaps. The mantel was just a white board with nails poking out and a 2x4 covering up a hole in the drywall.
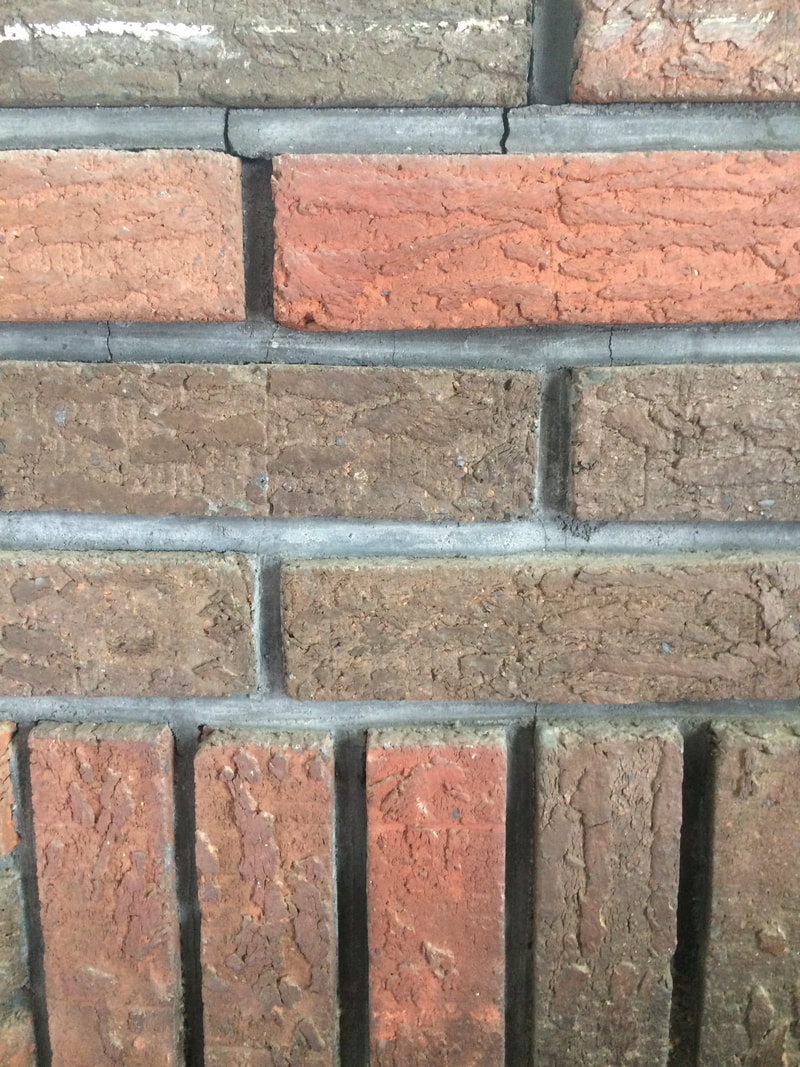
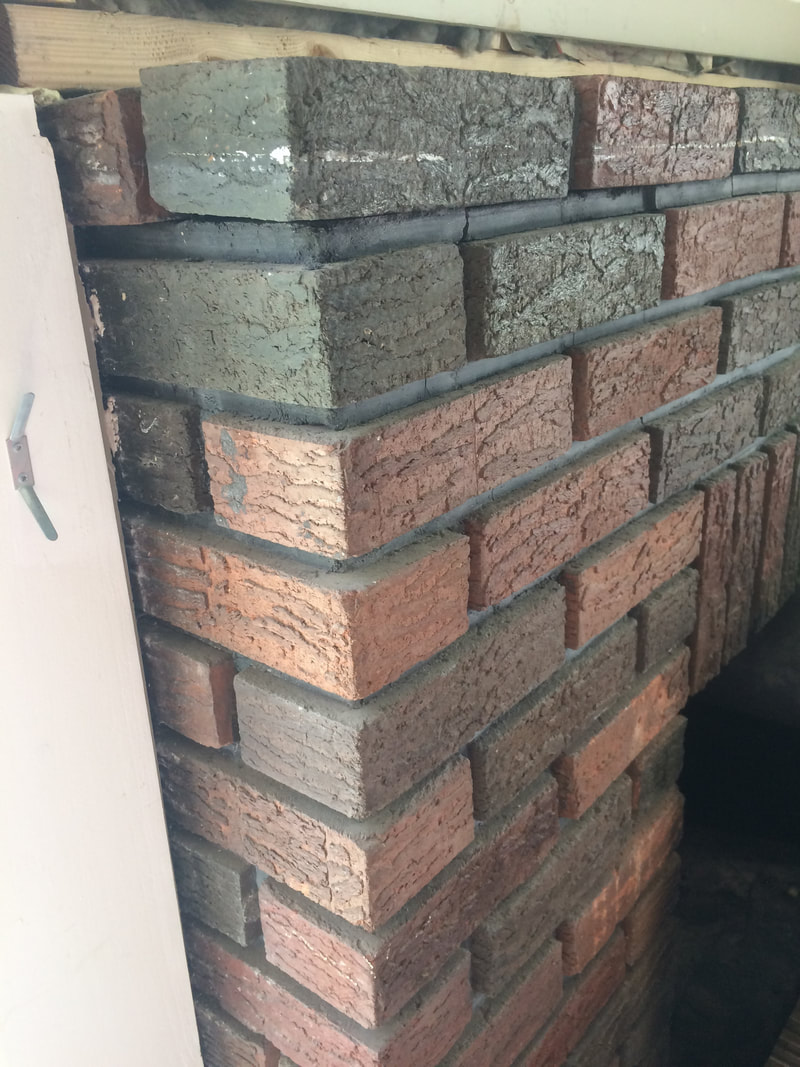
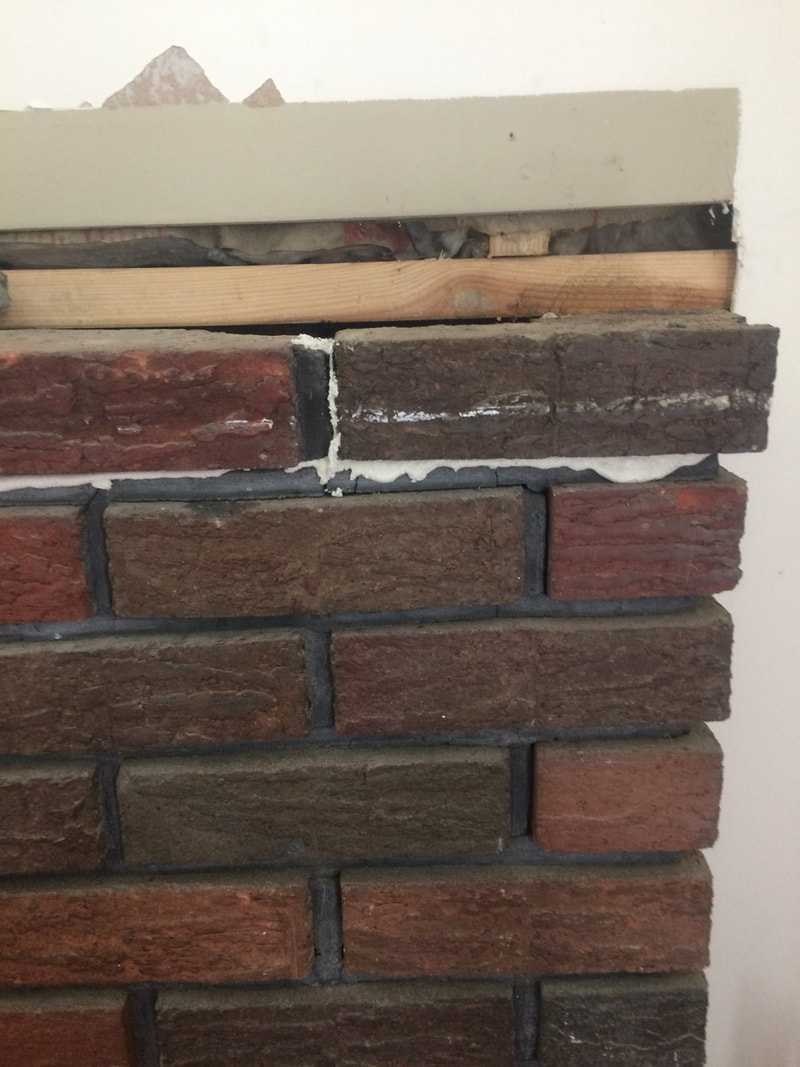
I love red brick with white mortar, and our brick, although cheap looking was the right color. Originally I thought it was one of those fake brick sheet things, but when Danny took the mantel down I found out the mantel was actually made of real bricks, and the top row was completely loose! 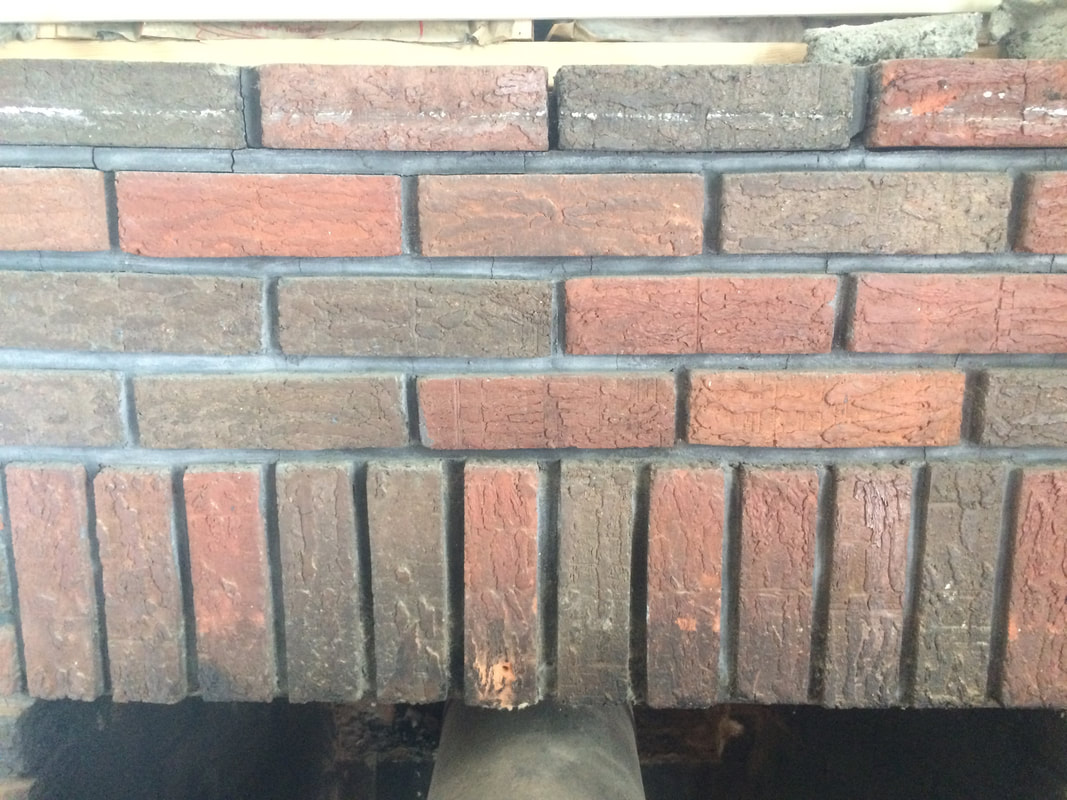 I had this idea to try to re-mortar the brick and just simply cover up the old, gray mortar. I knew I wanted it white and messy, the cleanest acceptable look was the butter joint look, but I also loved the german smear look. I decided to take the risk and if it didn't turn out I'd just paint the mortar and brick all white.
This project kind of became my baby. I knew exactly the look I wanted, researched it to death, and made sure I really had made my decision, and then told Danny I wanted to do it.
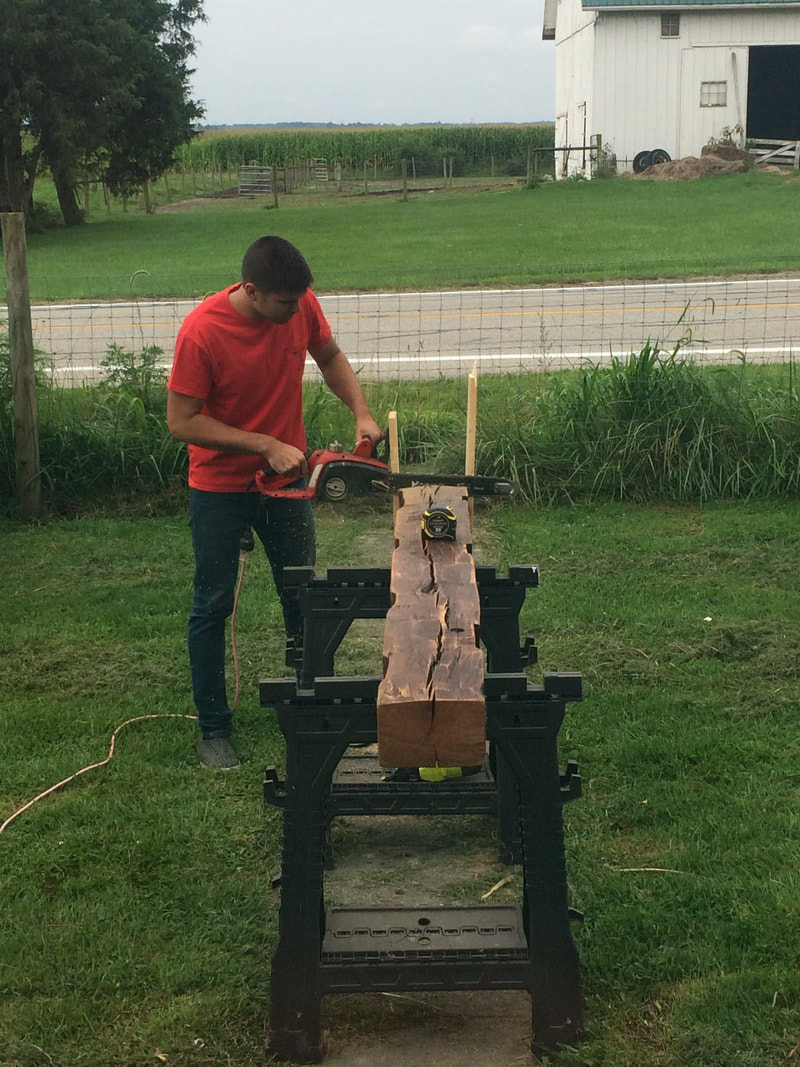
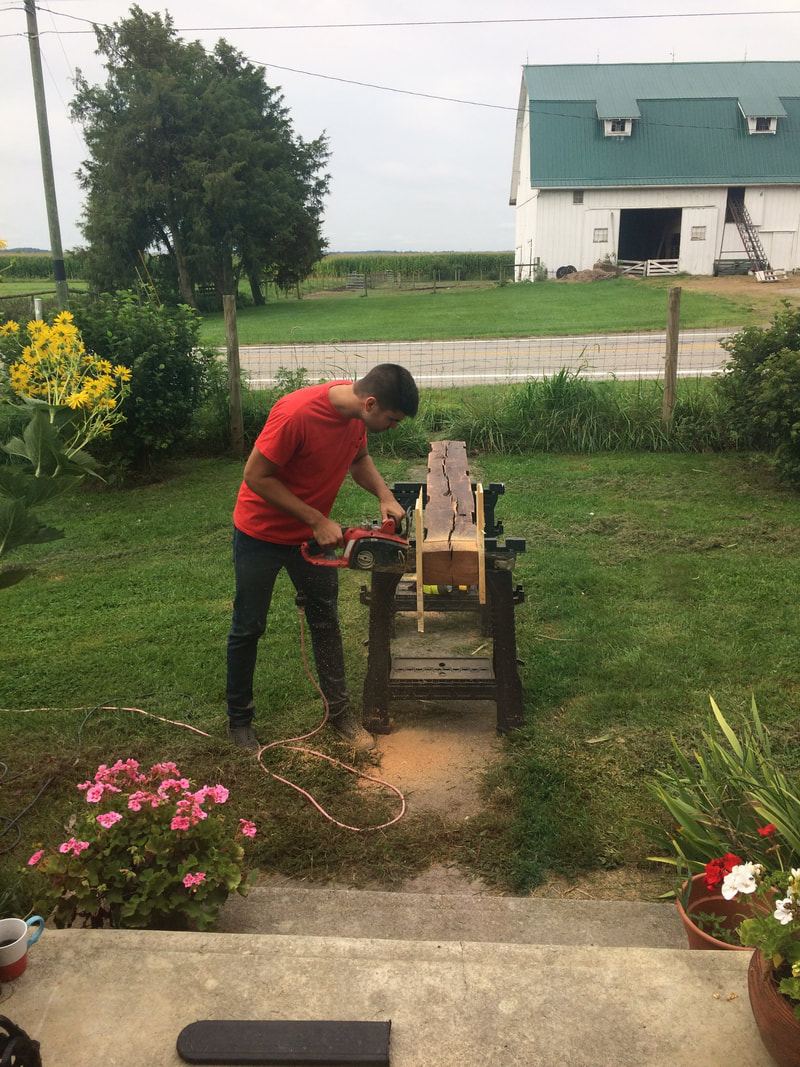
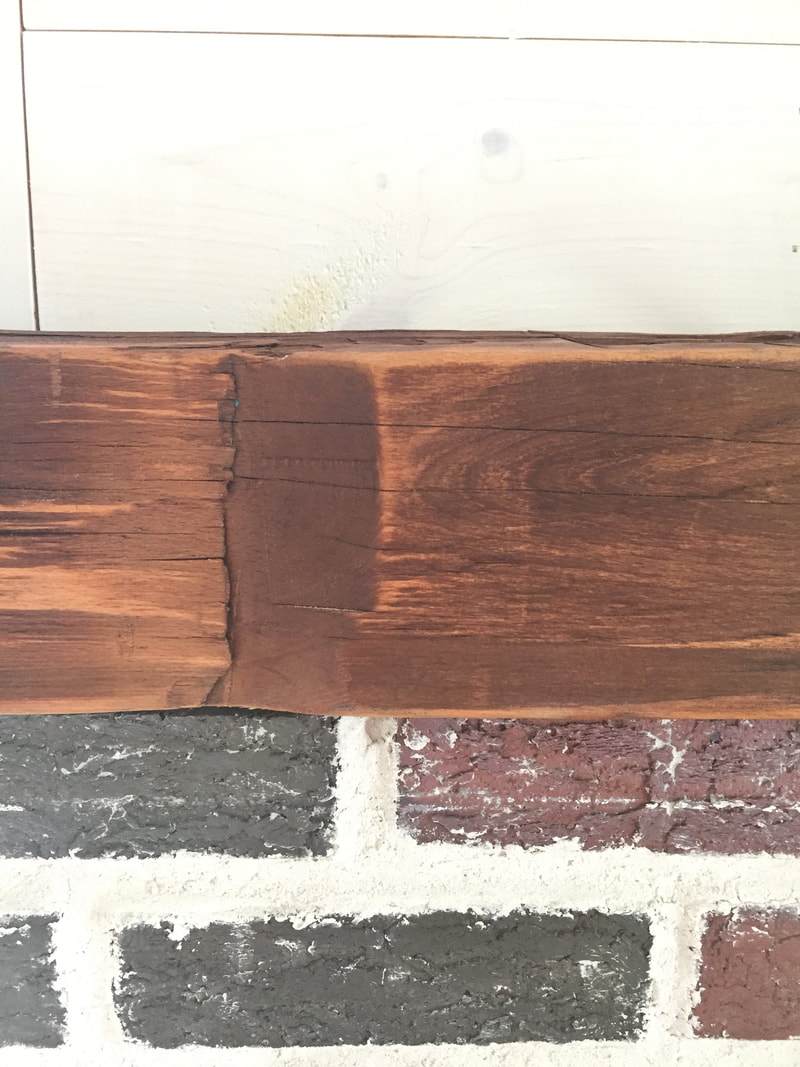
I couldn't find anywhere online where someone just grouted over for cosmetic reasons, so I went out on a limb and decided to just try it. I pulled up my favorite blog post I found of a fireplace with a similar look, ordered my mortar, brush, piping bag, and trowel from Lowe's and set to work. I had to reset the entire top row since it was loose, crossing my fingers in hopes that I could figure out how to set brick. Halfway through the project, I ran out of mortar, being that the gaps in the bricks were much deeper than I thought. But, it was looking good. Unfortunately, the next morning all the mortar had cracked. Almost every spot I had spread the mortar had cracking all through. While it didn't look horrible, it wasn't what I wanted and I felt it looked very DIY. Of course in my frustration, I forgot to snap a fail photo. The day I worked became very humid so for the second round I waited for some cool days of low humidity in the forecast. I filled all the cracks from the first round of mortar and then finished up the areas where I had run out. The cooler weather did the trick and now the mortar was strong and smooth. Of the new areas I filled, there was some mild cracking, but I went back in and just lightly covered the cracks with more mortar and that did the trick. All in all, it took 4 different days for mortaring, had I had enough I could have done it in 3. The vertical bricks had to be done in layers because the mortar would gloop if I filled it too much. 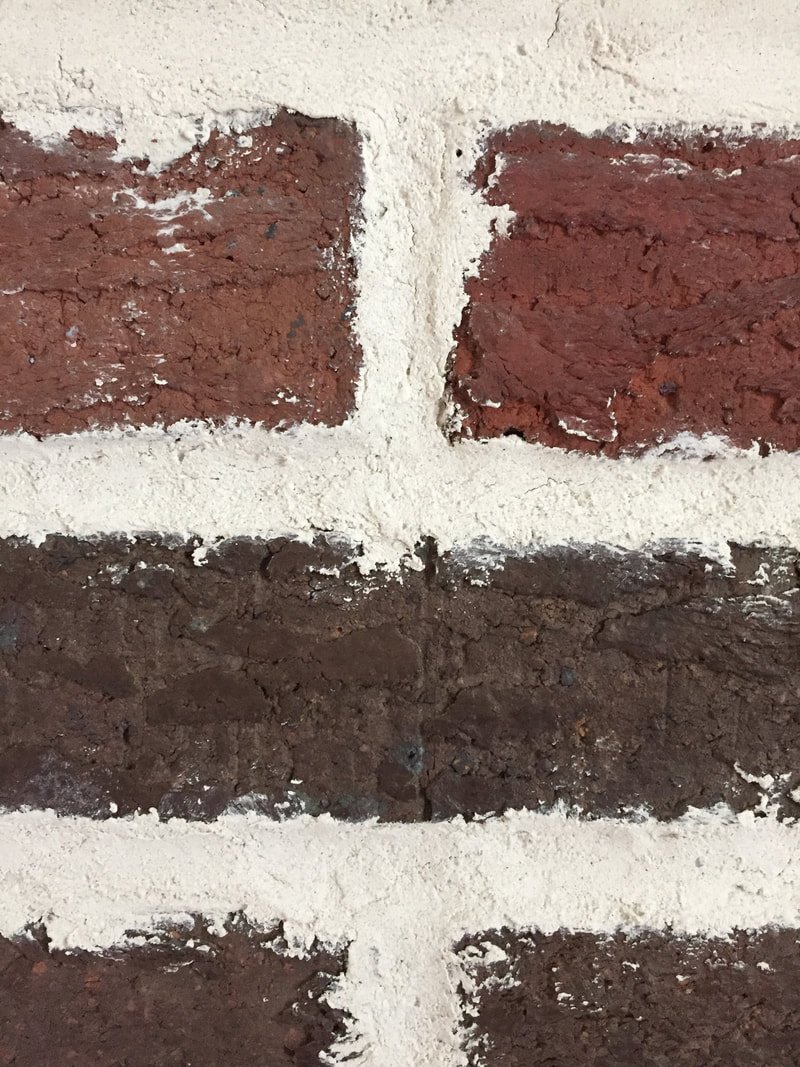 I wasn't sure how I felt until I saw it finished, but I love it! I thought I'd go back and brush some mortar on the face of the bricks, but I tested the view for a few days and decided it was perfect. The mortaring was my project, but the the mantel was Danny's, so he took over getting the beam installed. The old beam was a Christmas gift from my parents and was exactly what we wanted. Danny had to trim down the edges a bit using his chainsaw which made me nervous, but he did a great job.
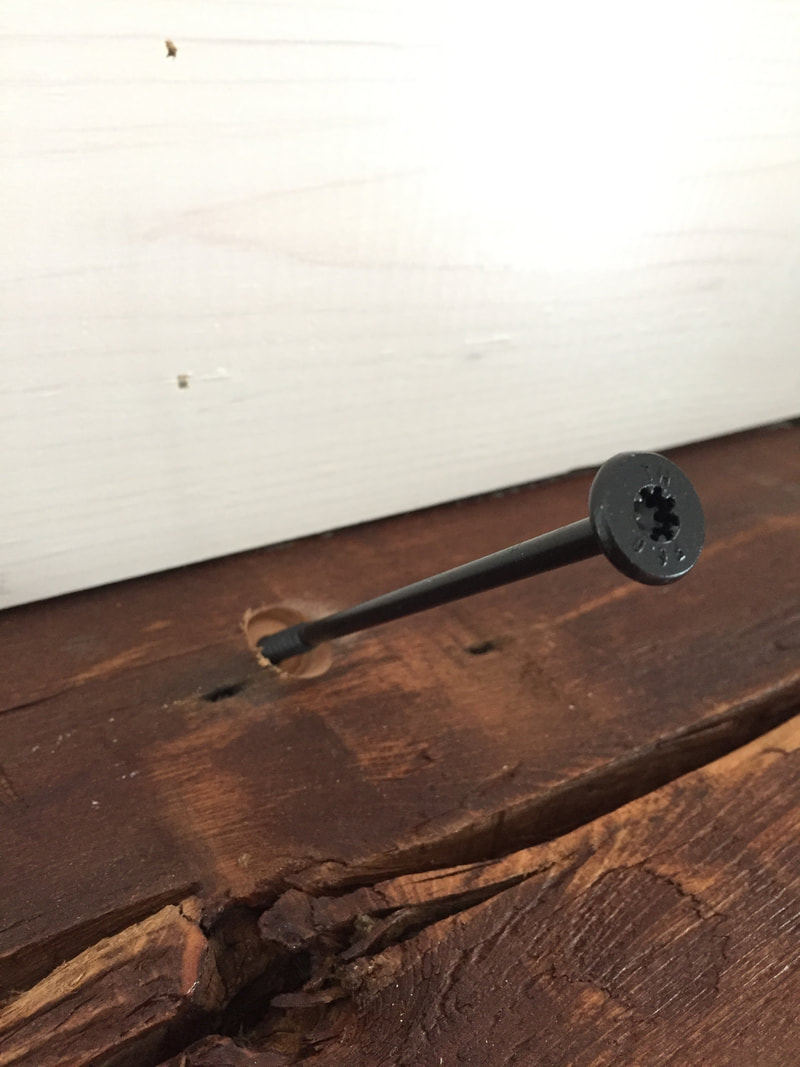
He secured it with some structural wood screws and I went back in and filled the gaps between the beam and brick with our leftover mortar, which of course I ran out. When it's in the budget, we'll purchase a third tub of mortar to finish it off. It's one of those things that we only really notice, but it is just that final step to make it look perfectly complete.
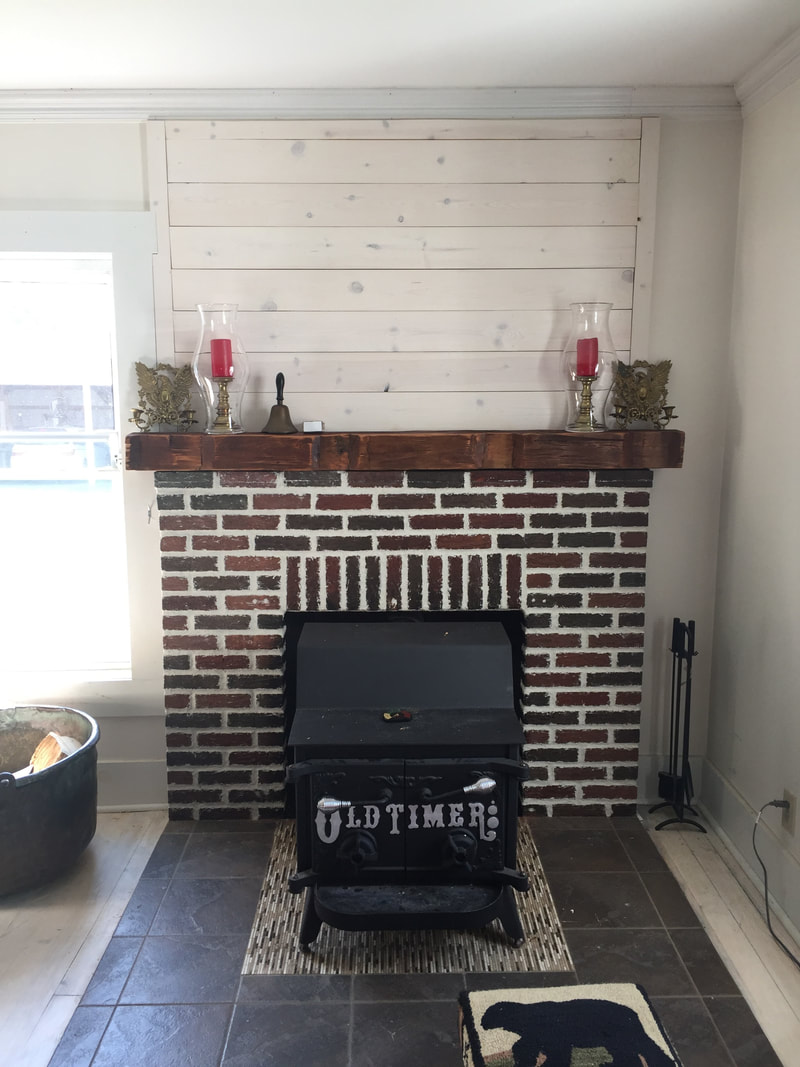
My mom suggested finishing it off by doing shiplap up to the ceiling to unify the fireplace and wall. We decided we liked that idea. Danny cut some pine boards to size, nailed them up, and whitewashed them all in a day. I honestly can't believe it is the same fireplace!
I just love how it turned out and we can't wait to get some fires roaring in the fireplace!    The picture will be hung, but we didn't have the right anchors and I was too excited to wait to share.
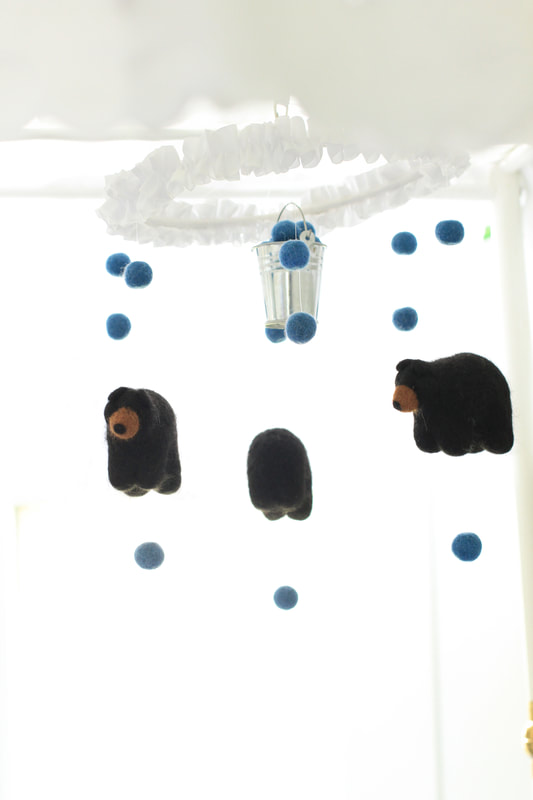
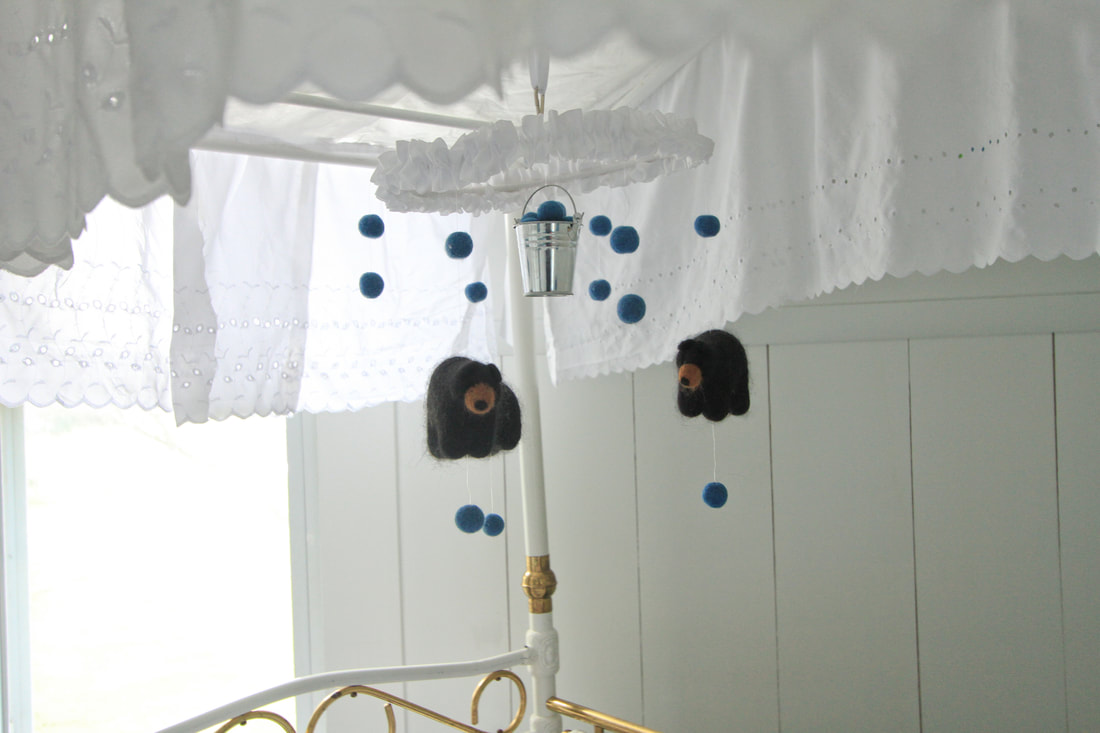
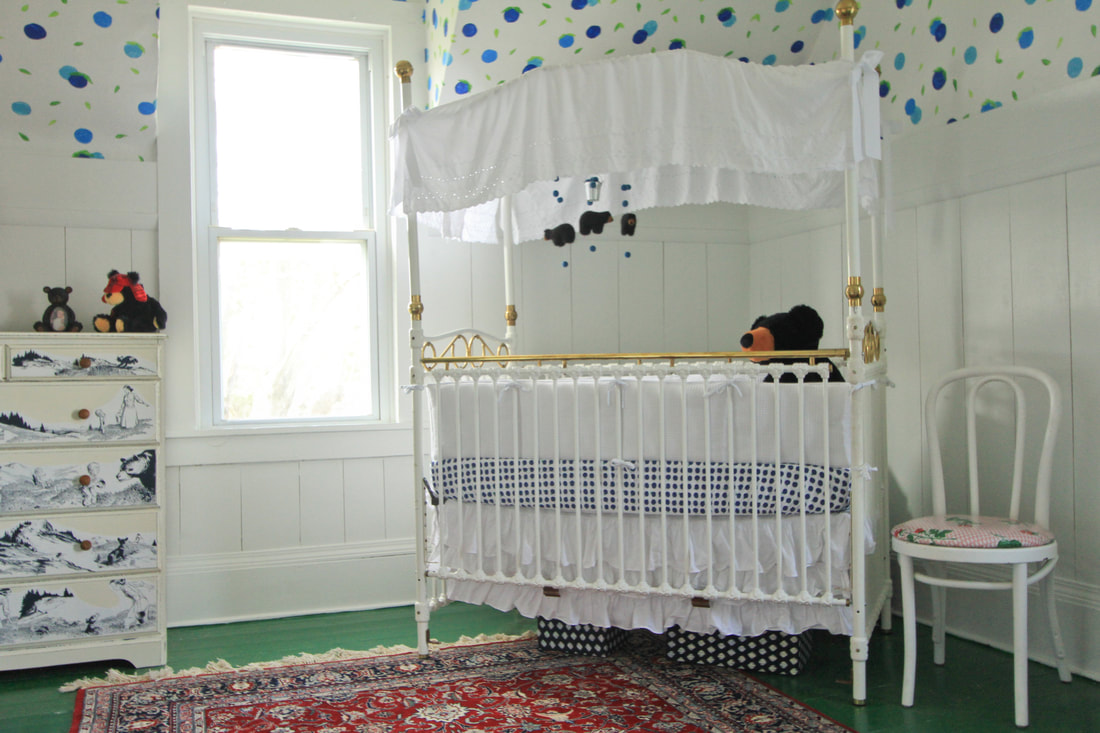
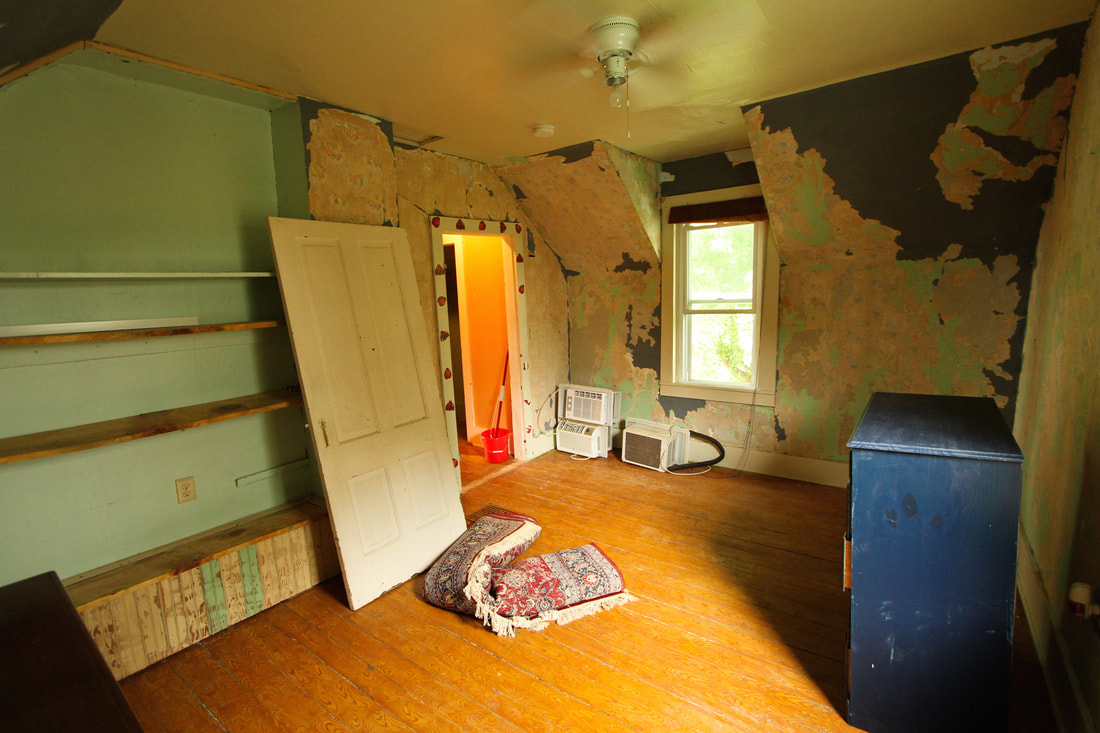
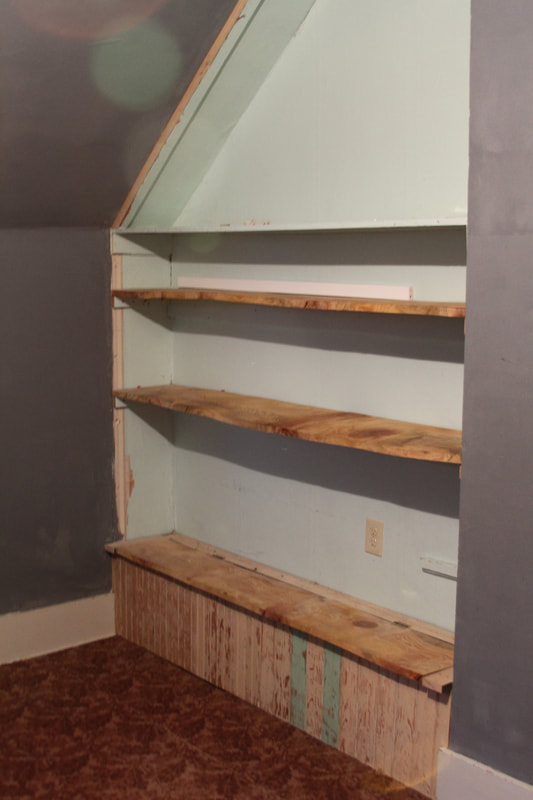
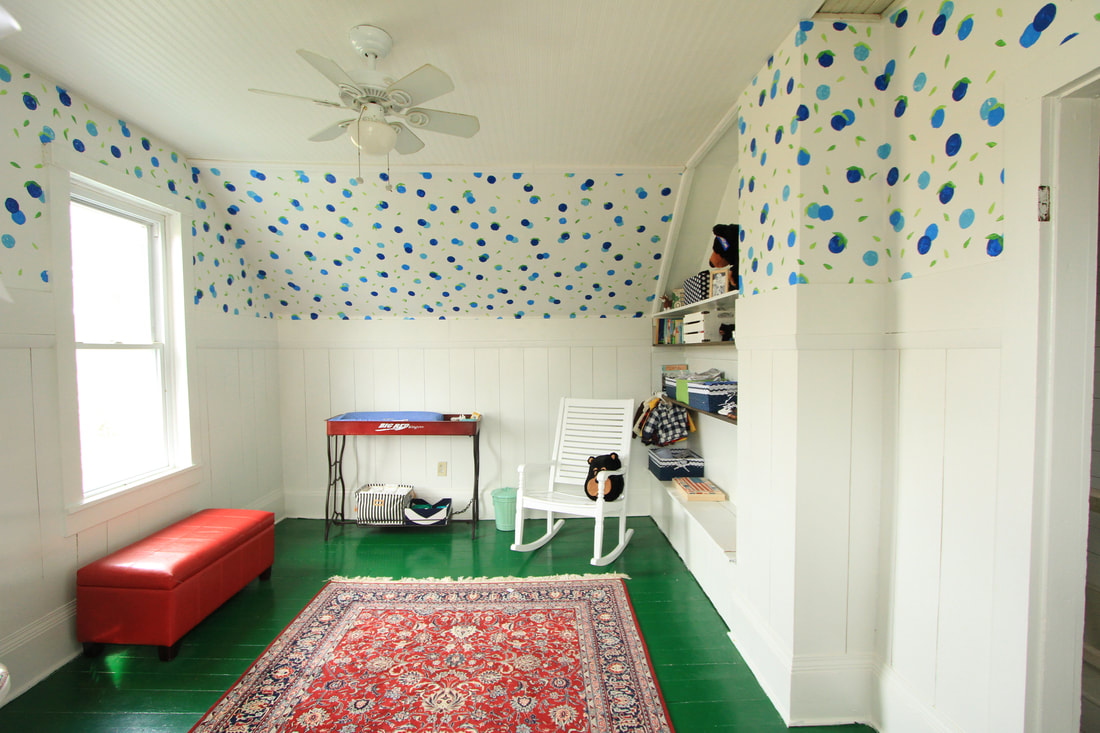
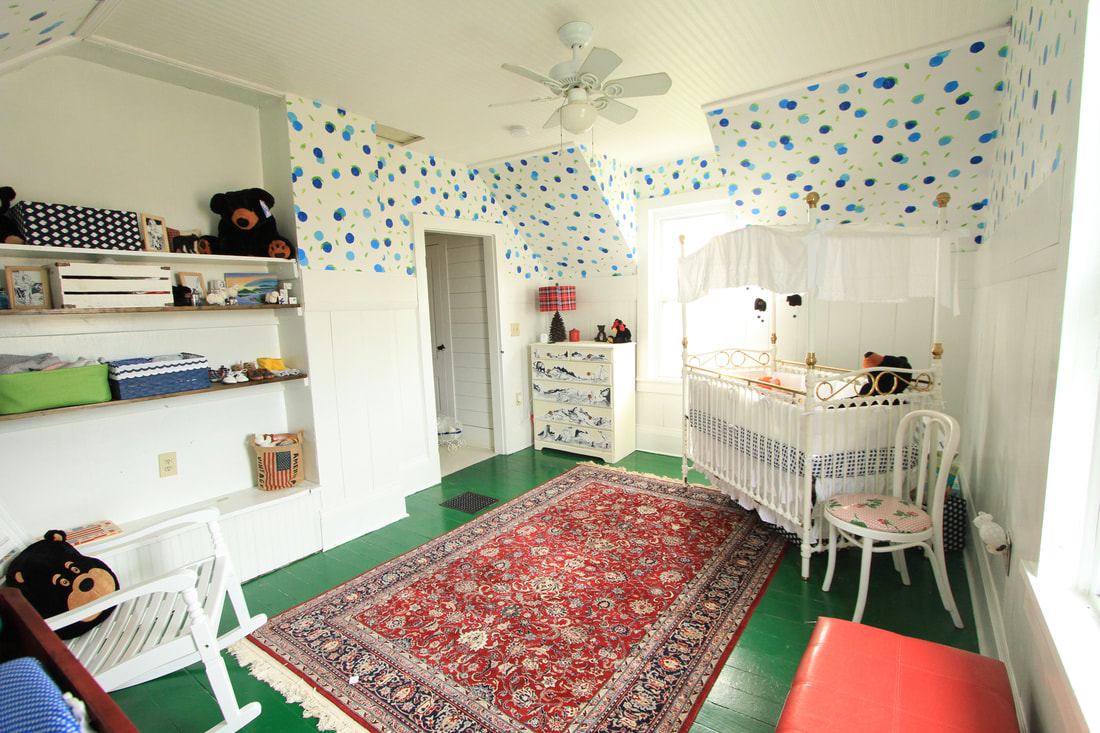
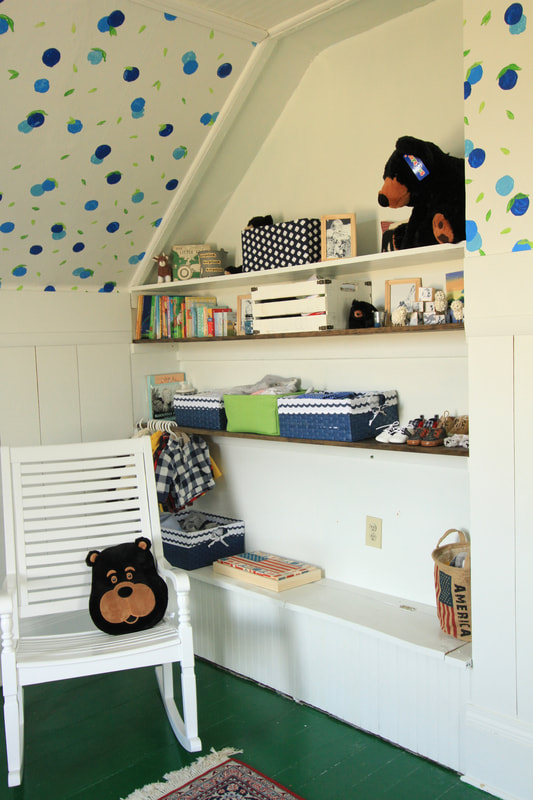
Archived From CHICKENS CHALKBOARDS // MARCH 22, 2016We are still loving our nursery and baby Danny is enthralled with our DIY wallpaper. I never considered how he might love gazing at it, but they say babies like contrast so it makes sense. He seems to have a thing for polka dots, so he's got the right room. Of course I still want to tweak things here and there, but I figured I'd better share it, because who knows when I will really call it complete. The room is so happy, bright, and youthful. These pictures just make me smile. 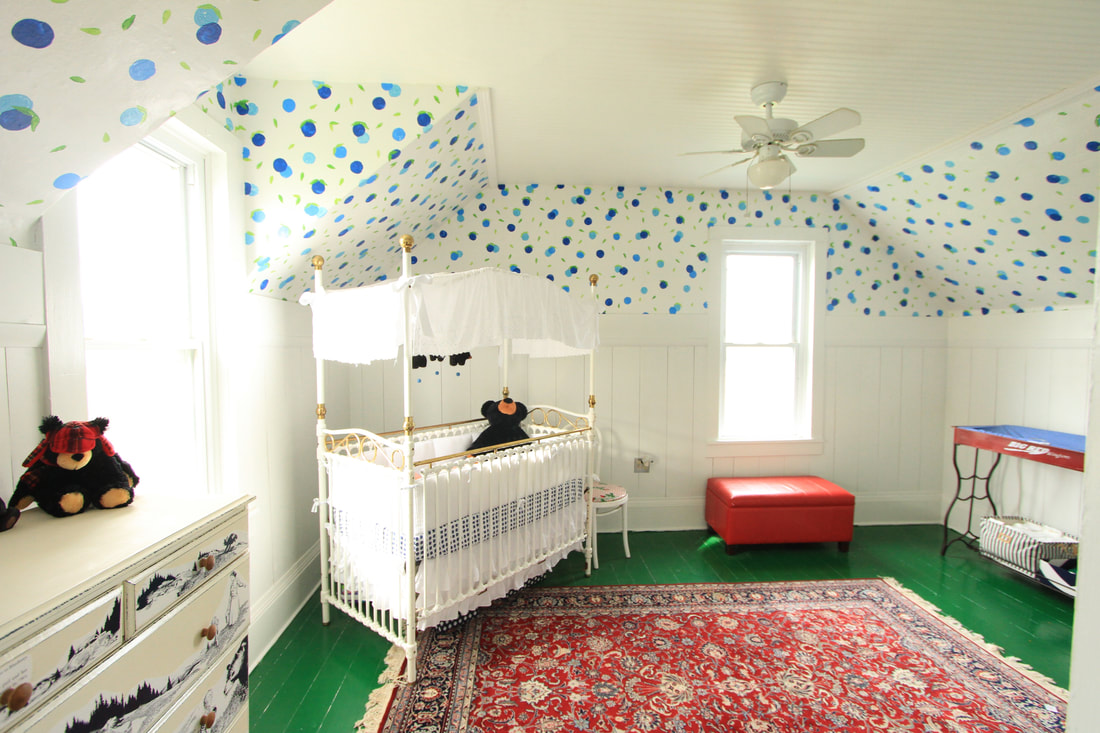  The changing table is one of my all time favorites. It was being sold at a local garden store as a potting table and my mom had the great idea to use it as a changing table. It reminds me of the old wagon we had as kids and is perfect for our nursery. I mean, can you get any cuter than that?! 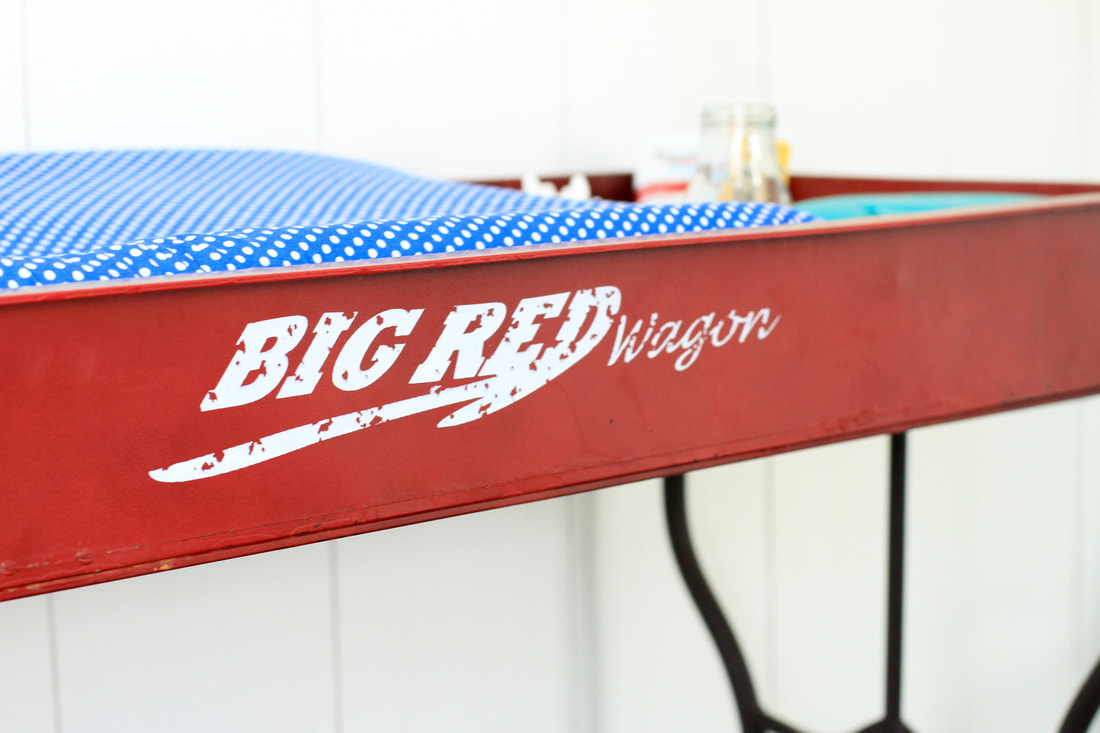 I used some pails that I ordered to store q-tips, and a cute sweater looking bowl stores lotions and diaper cream. In the tray beneath are disposable and cloth diapers, wipes, and trash bags. Everyone told me I'd want a much bigger trash can for dirty diapers but this compost pail has been just fine. I wasn't into the idea of a huge pail with diaper sausages fermenting for weeks. We used a bigger one for the newborn weeks, but he was in our room in the bassinet so we still didn't need one for the nursery.   Danny replaced the shelves in the bookshelf, since the other ones were warped, and I got some navy baskets to store things. Eventually, I'd like to add a pipe bar (like our pantry) to hang shirts, but the shelf is doing fine for now. Thanks to dear friends I had plenty of cute things to decorate the shelves with. The blocks and frames were the perfect addition (Thanks Sarah). 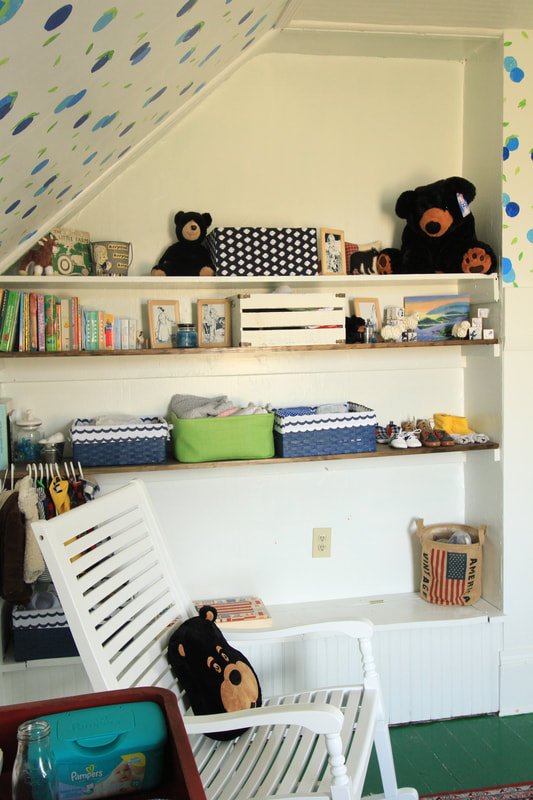 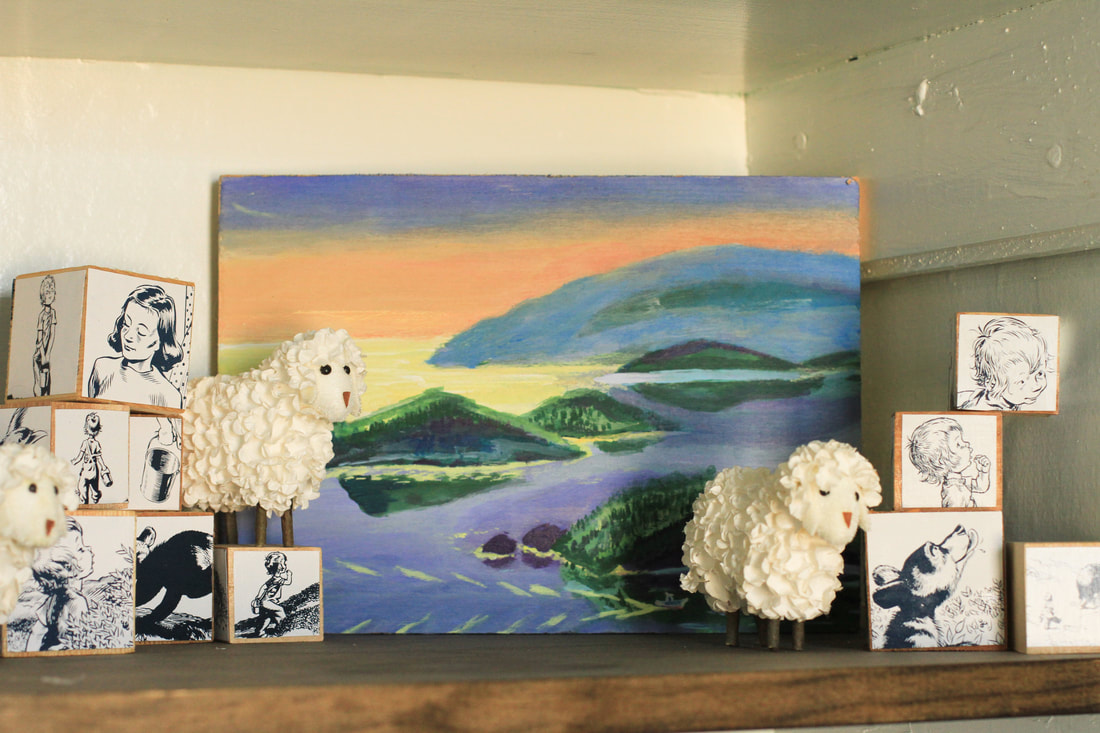 Yeah, he has a shoe collection  Of course living on a farm means you need some classic farm toys. I love this book my grandma found. 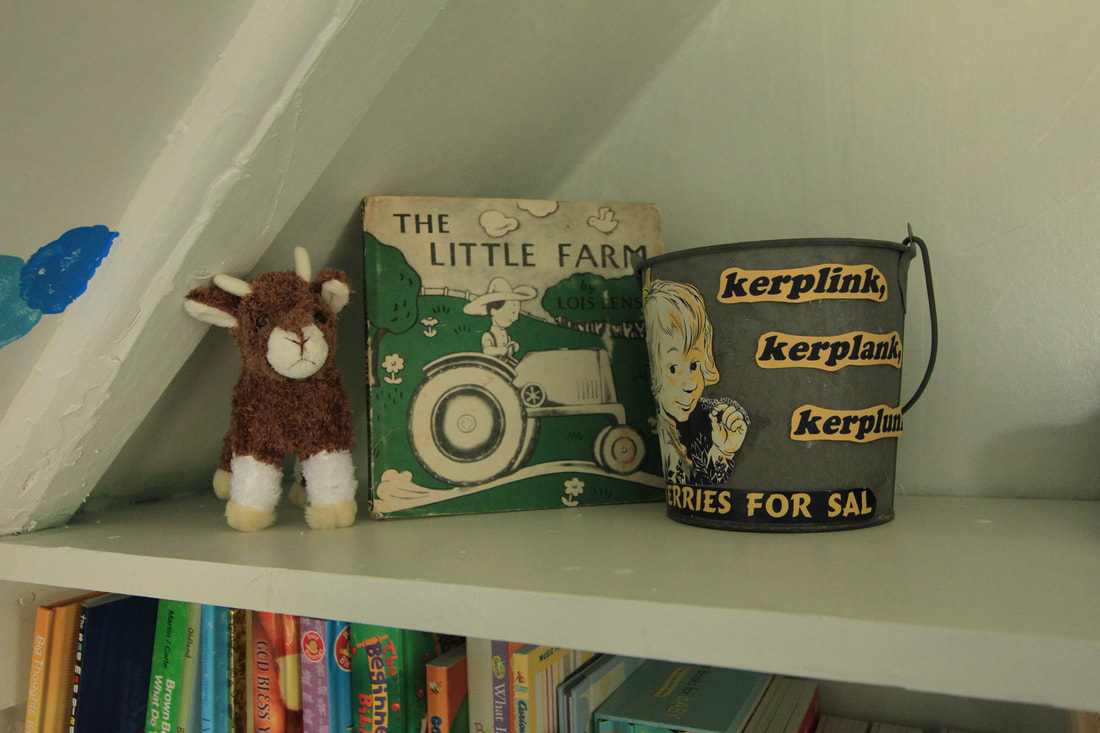 The baskets store puzzles, extra linens, toys, and whatever else needs stored. The white built in still has the original warped board on top which is quite heavy to open so thats where old baby clothes are being stored so I don't have to worry about smooshed baby fingers someday trying to get toys in and out. The red storage bench will hold frequently used toys someday that he can easily access and have safe fingers.  Since my tailbone is still bothering me, the original rocker for the nursery was too uncomfortable for me to sit in so it has been moved downstairs where it can get broken in. The plan was to eventually move it back up when I could use it but my grandma recently found this wonderful white rocker, so we will probably leave things how they are. (Danny enjoys using the rocker downstairs) 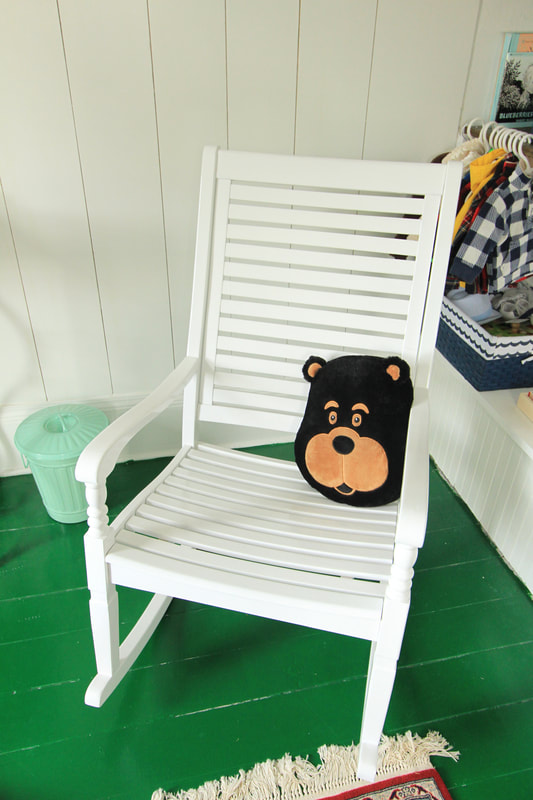 The crib is another favorite of mine, the one we all used as babies when I was a kid. It took quite a bit of elbow grease to buff the brass and get all the dust out of the details, but I love it. I originally thought I was going to have to do blue polka dot sheets but Land of Nod just happened to be selling blueberry crib sheets in their Farmers Market collection, which really made the look. 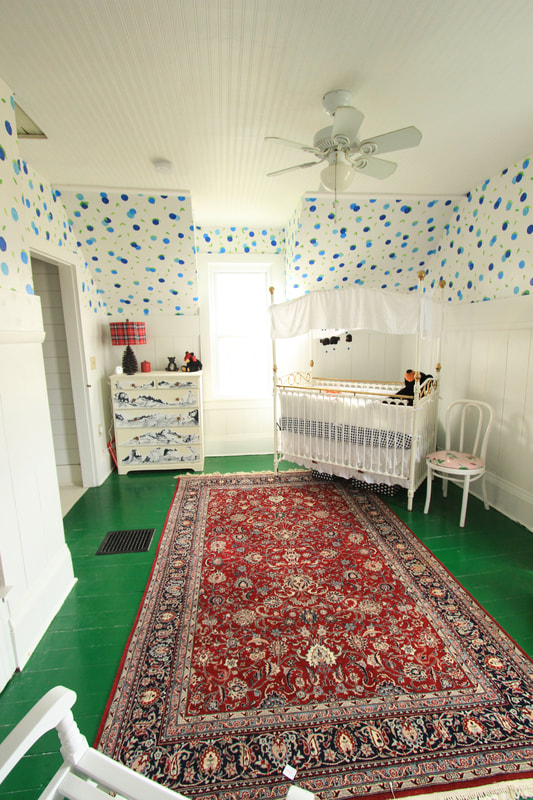 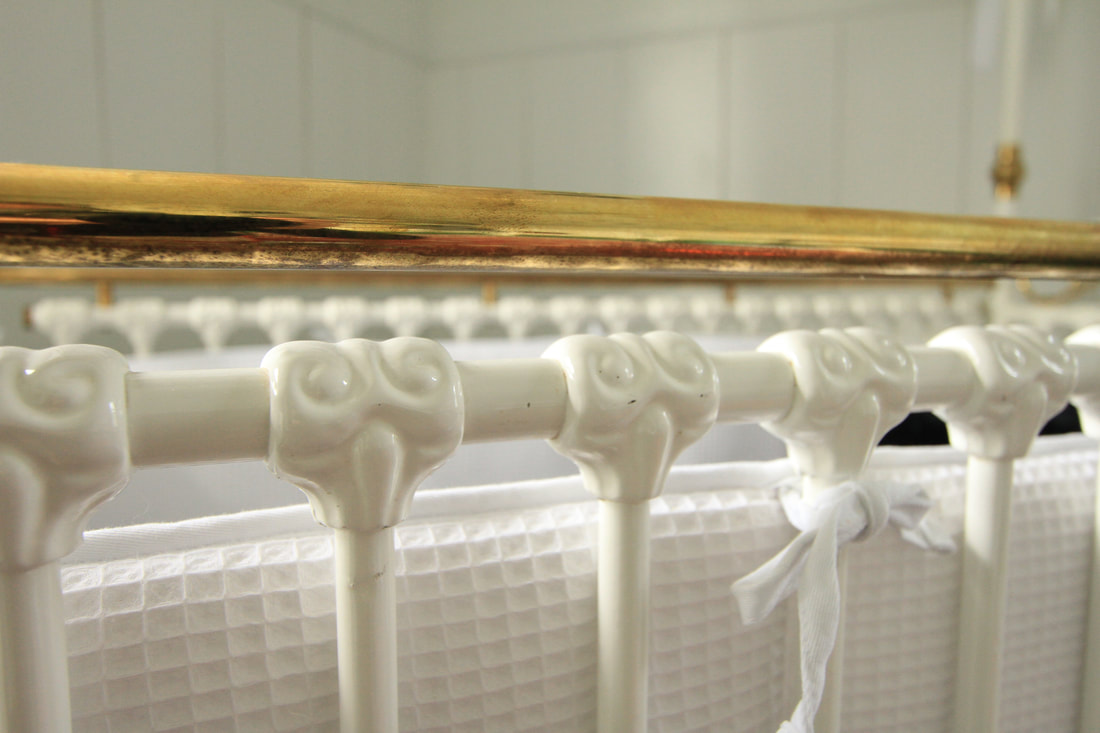 Aren't those blueberry sheets adorable?! And of course that baby too! 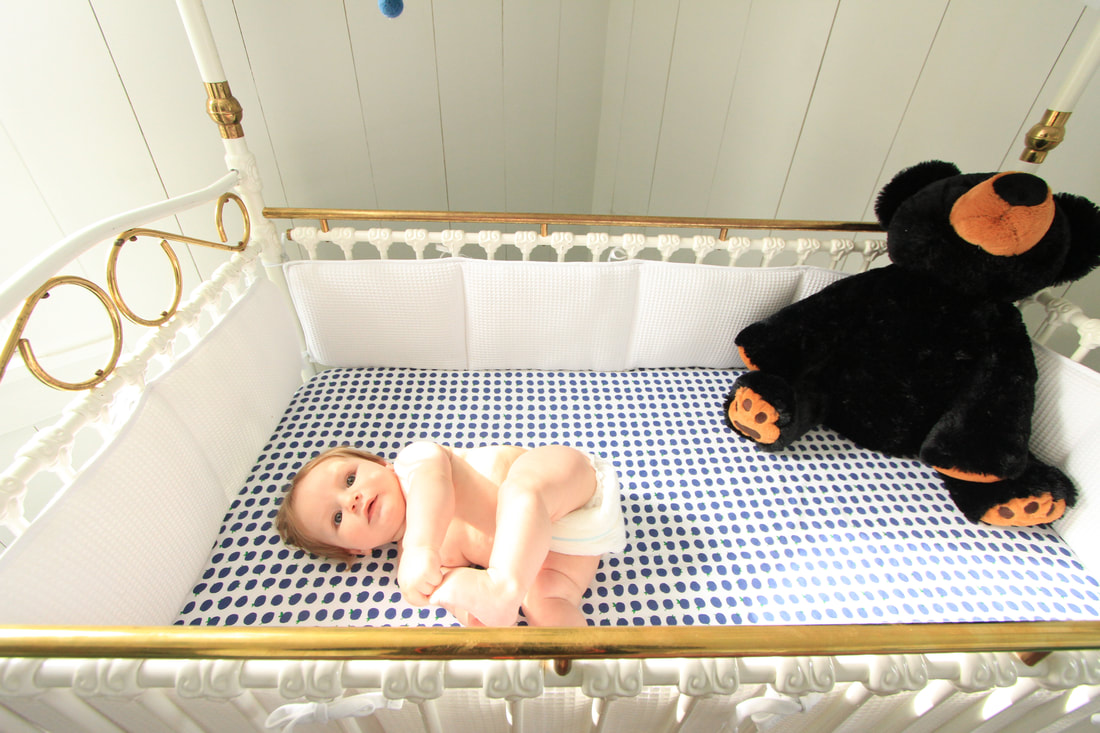 I hung the mobile, which baby Danny loves, and it looks so cute. Unfortunately, I didn't hang it so it can turn but he doesn't seem to mind.
The original canopy my mom had didnt make it through 25 years and 3 kids and was thrown out a long time ago, so I had to make my own. I can't sew a stitch so I had to make due with some scissors, ribbon, and hemming tape. The canopy is actually a twin bed dust ruffle that I cut down to size and is similar to the one I remember my mom having when we were kids. It turned out okay but this is where I keep wanting to tweak things. I want to add some big blue fabric bows to the top of the canopy and maybe do some gathers in the center so it doesn't hang so flat in the middle.
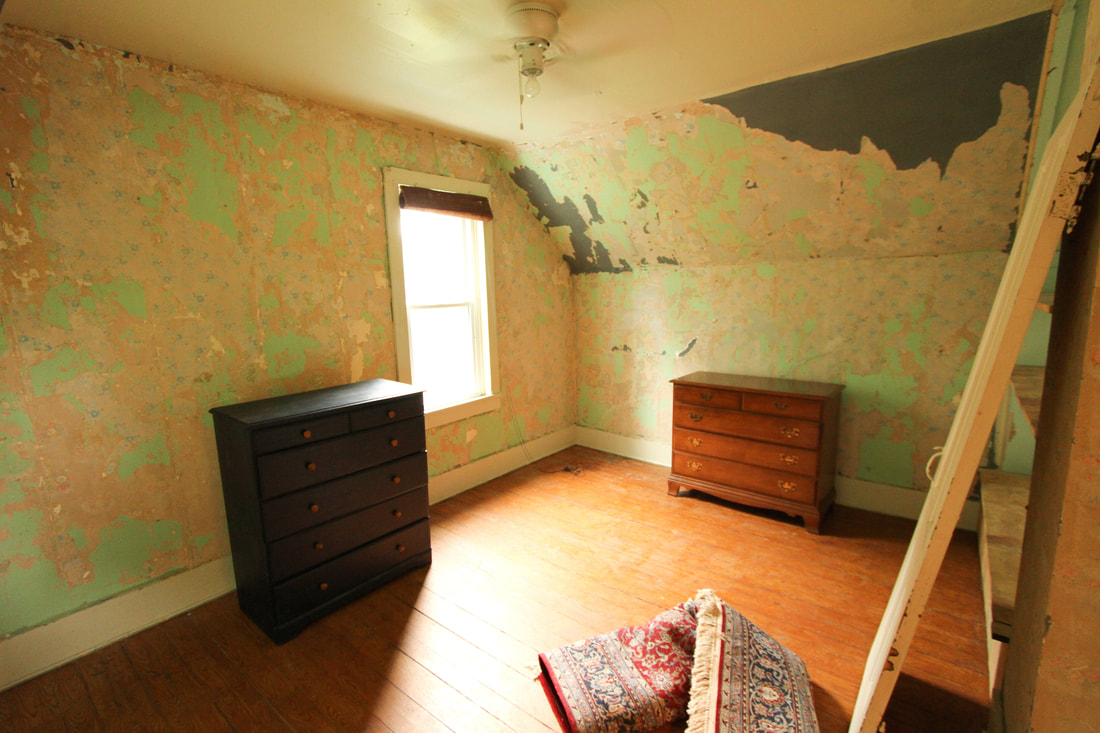
Of course my dresser is perfect and I love how I see it when I come up the stairs. It is one of those pieces that I can honestly say I am really proud of my work. It looks amazing! 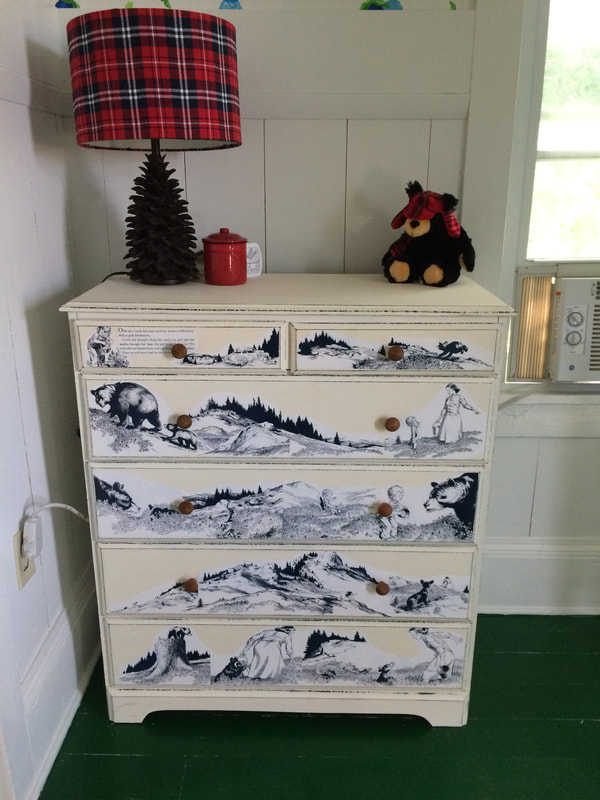 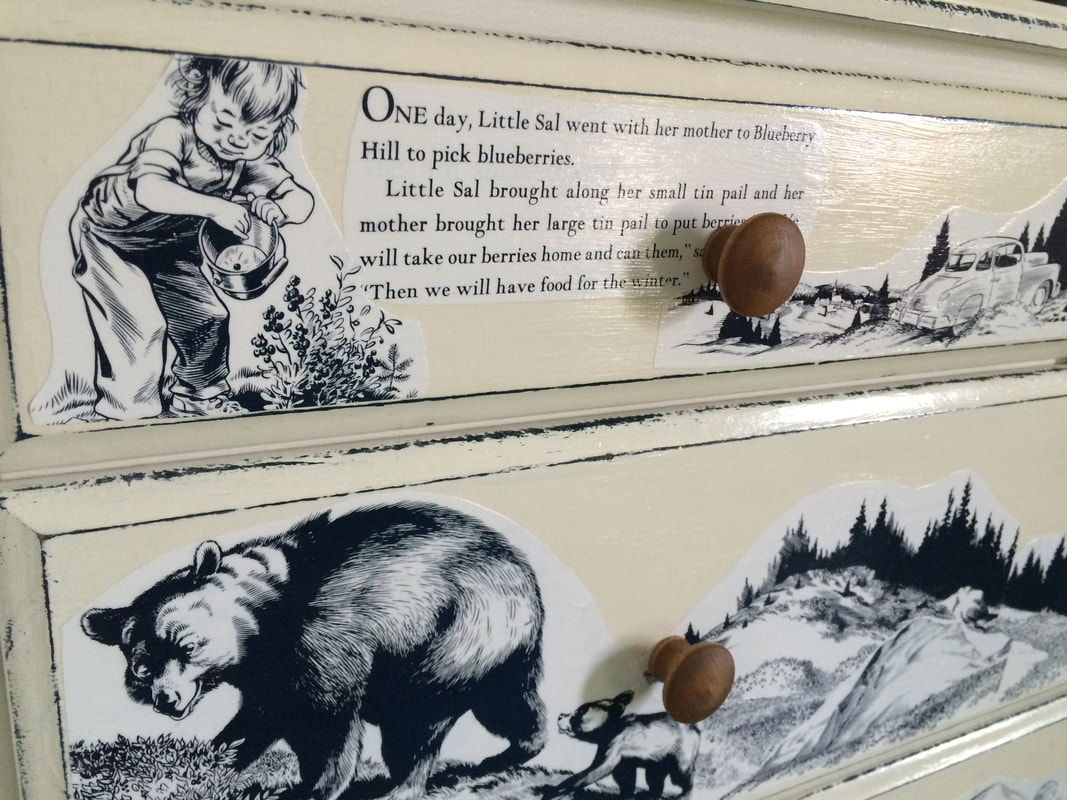 I meant to order blue gingham curtains this winter and completely forgot, so that is still on the list to be done before next winter. I'd love to someday have a cushion for the built in bench. Ideally, I'd like it to look like a Hudson Bay blanket, but Ill have to figure out how to DIY a cheaper version because I know that is not in the budget. The nursery has a great view of the field behind us and is perfect for watching thunderstorms. In the morning you can hear the chickens clucking and demanding to be let out, and late at night you can hear the chirping of the tree frogs. I can't wait to open up those windows and let nugget enjoy the country sounds, and I can see myself snuggling up in there someday. If it wasn't for my walk-in closet I might make the little babe trade rooms with me. 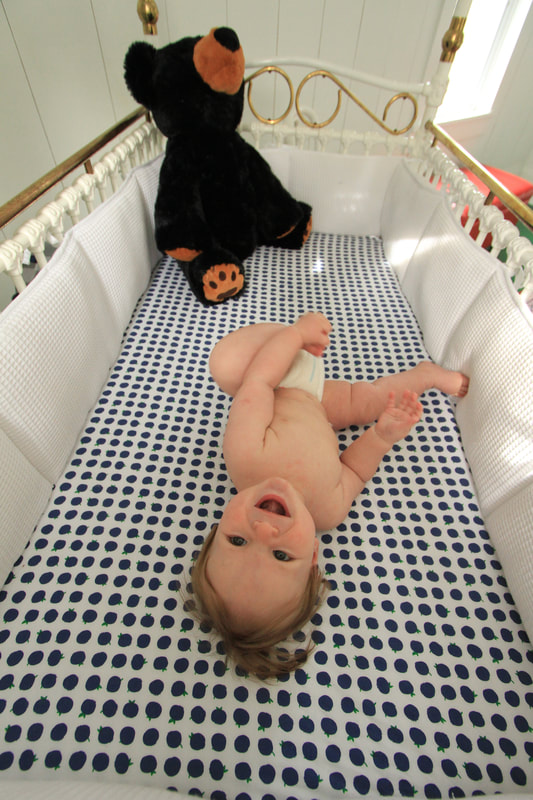 Check out those chubby legs!  Despite the frustrations along the way, I love how the nursery turned out, and looking at where we began really reminds me how far it has come! 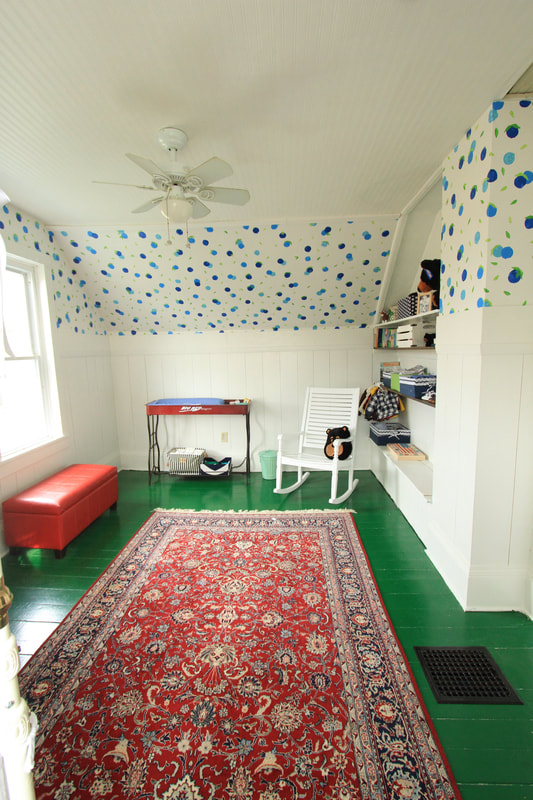 Here's some Before and Afters:
|

About The KelleysThe Choosing Home PodcastCategories
All
Archives
September 2022
|


 RSS Feed
