|
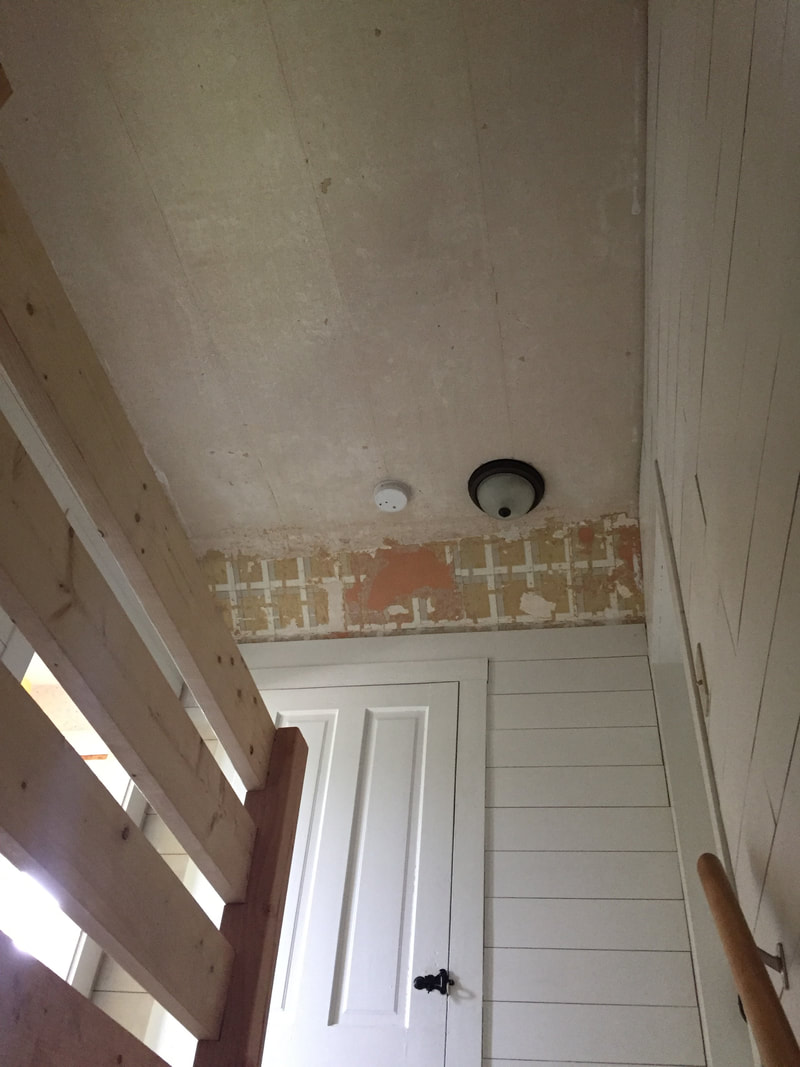
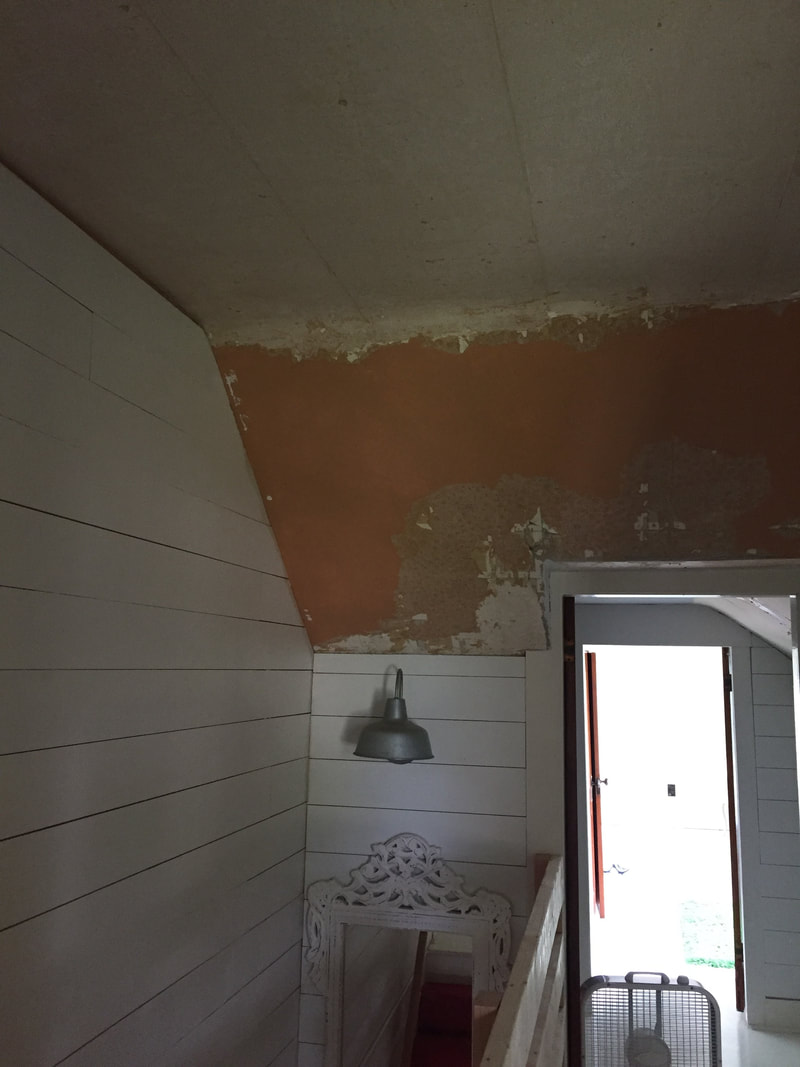
Paintable bead board wallpaper, sound too good to be true? I definitely thought so. We've used it in two rooms now and hopefully will have it in two more before we are done with it.  Although I thought it was too good to be true, the wallpaper looks great and is fairly easy to install. The first room we used it in was the nursery and it still is holding up great. 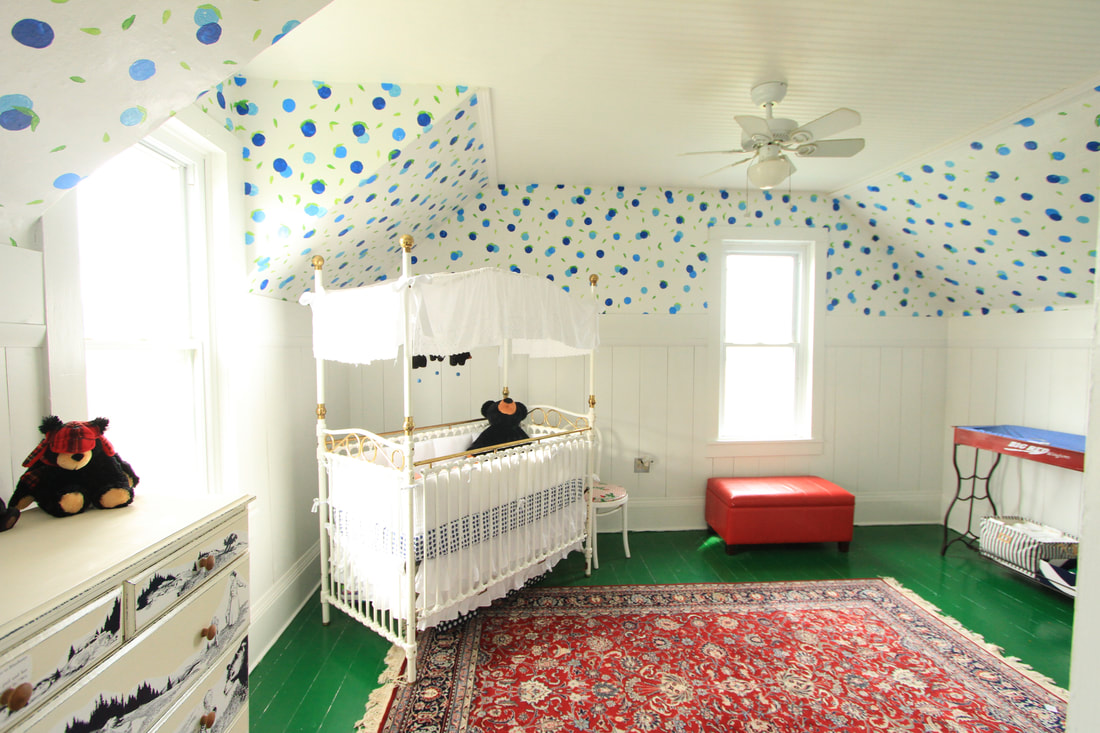 This time around we used it in the hallway upstairs. We installed it in both rooms on the ceilings to give the bead board feel, but with the installation ease of wallpaper. Installing bead board over our heads on old plaster ceilings sounded a bit out of our wheelhouse. Our ceilings also have curves and angles, so sheets of wood just really sounded like a disaster.  Despite already installing it once, two years later we were surprised at the details we forgot on exactly how we did it, causing a few frustrating arguments in the process. So, since we plan to use it again in the near future, I figured why not document exactly what we did and avoid the arguments next time. What we Used
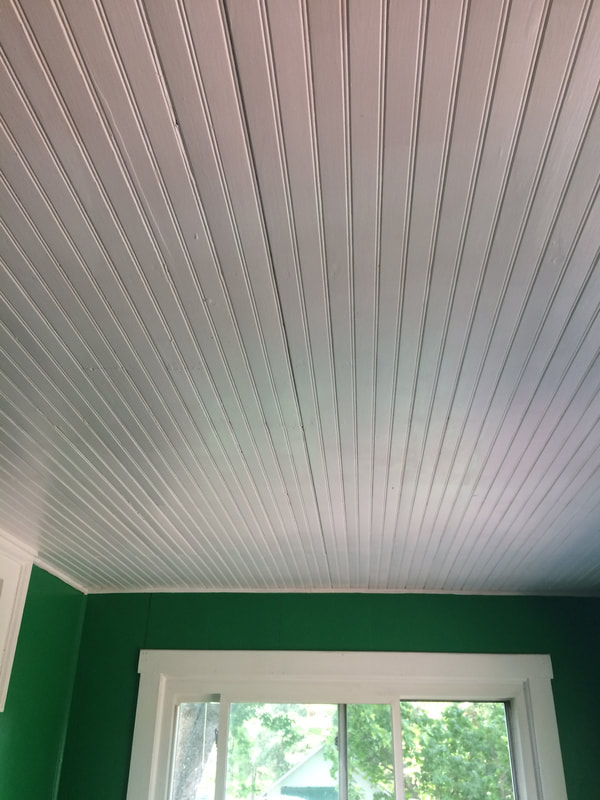
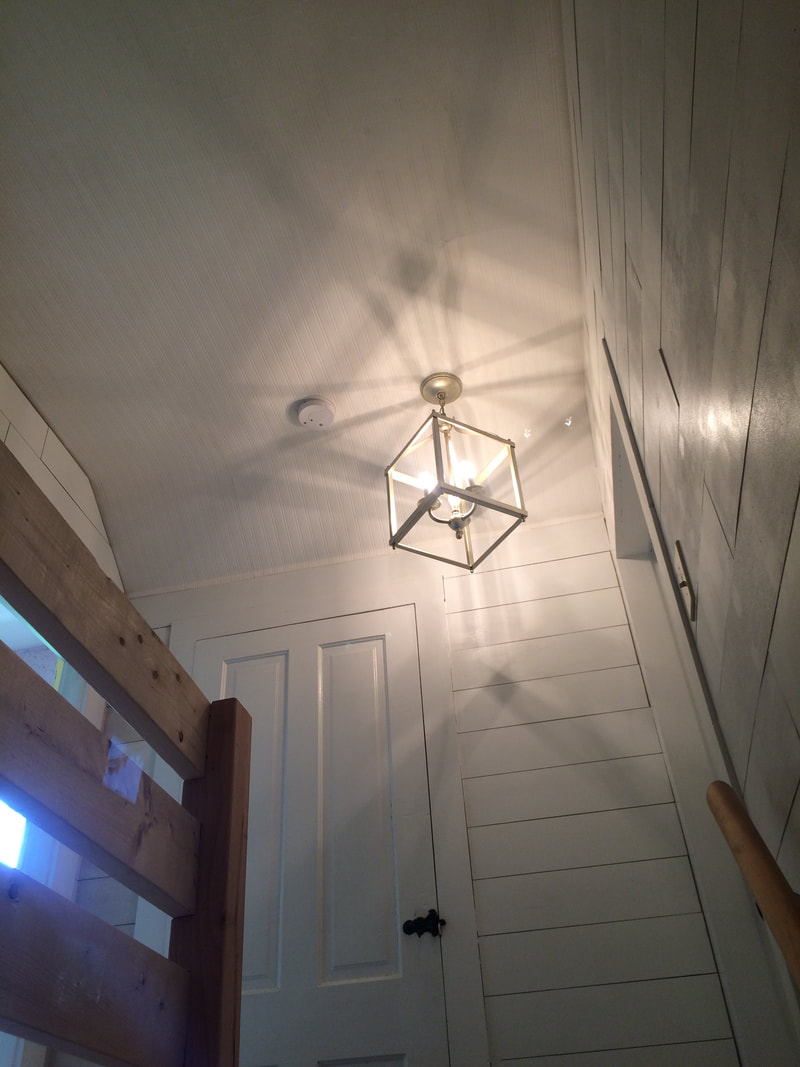
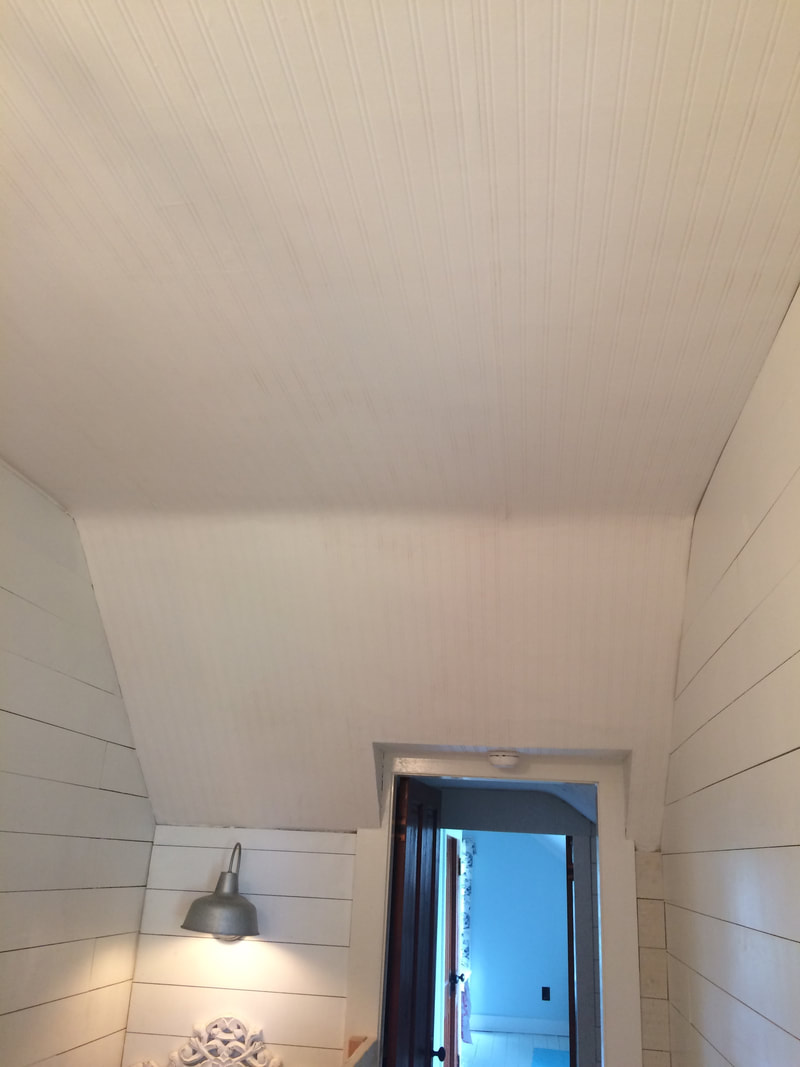
The ProcessGet everything set up so you are ready to go, which means don't forget your lights. Getting the ceiling well lit is going to make the difference in you noticing bubbles or not. In both rooms we started where the longest strip of paper would go. For the nursery the longest strip fell in the middle (which was easier), in the hall the longest strip was on the one side along the wall (much harder, especially when you are trying to make sure the paper is straight but its following a very crooked wall.) Decide who is doing what, and yes, you will need help. I don't know how you could do this alone and if it is possible you'll be fuming mad by the end. Danny did the actual installation and pasting to the wall, while my job was to hold the roll/strip of paper and slowly unroll what he needed and hold the already pasted paper in place with the pad.  Cut the paper to the necessary length, with a bit to spare. You can always go back and trim, don't think you're wasting paper to give yourself some wiggle room. It's better to waste a few inches than several feet in a wasted strip that is cut too short. Brush paste on to a small section of the ceiling where you plan to begin. This is so different than a lot of wallpaper. There is no need to do any booking, just brush the paste on the wall and go! Get a decent amount on the ceiling too, remember you don't want it falling down from too little paste. The trick to doing a ceiling it to work in sections. If you try to do too much you'll have gluey wallpaper falling from every direction and you'll be stuck underneath. 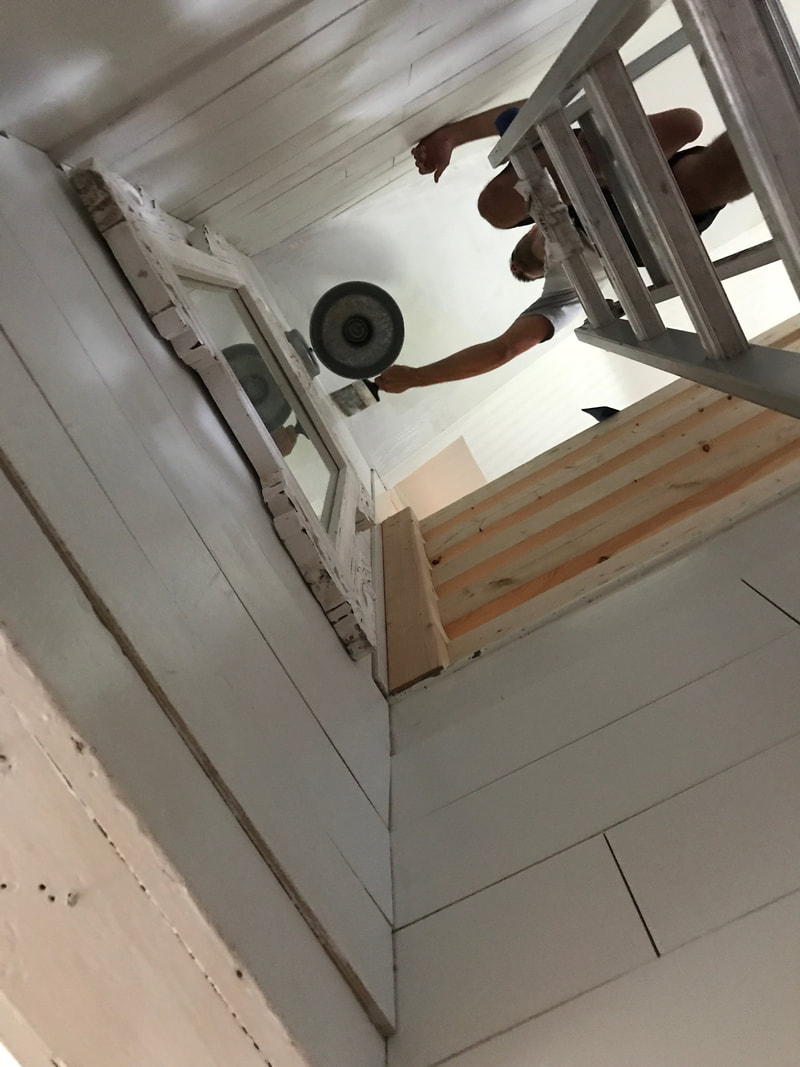 Begin adhering wallpaper to the pasted ceiling. This is where it it good to be a perfectionist so reposition as much as needed. Remember with those lines in the bead board, the longer they are and the more you get up, the more you will notice if they are crooked. In the hall we got a fourth of the way and then noticed it was slightly crooked. We pulled it off and repositioned the strip. No matter how maddening it is to have to fix, don't think you can ignore it.  With every section you are pasting, positioning the paper, and then smoothing. Look for any air bubbles and then use your smoother to push the bubbles to the seams. This is where the damp sponge comes in handy. As bubbles come out so does some paste so the sponge helps keep everything clean. Once a section was up, my job was hold it up with the mop while Danny worked on the next section. You're fighting gravity here so the strip can't hang on its own or the strip will pull away and fall. The freshly pasted stuff needs to stay in place which meant I held the roll of paper up over my head with one hand and the mop over my head in the other. Trust me, holding a mop in the air with one arm and the roll of paper up in the other, your arms will get tired. To pass the time, I looked for air bubbles Danny missed. If you are on the ladder, expect your neck to get sore, so just take your pick. 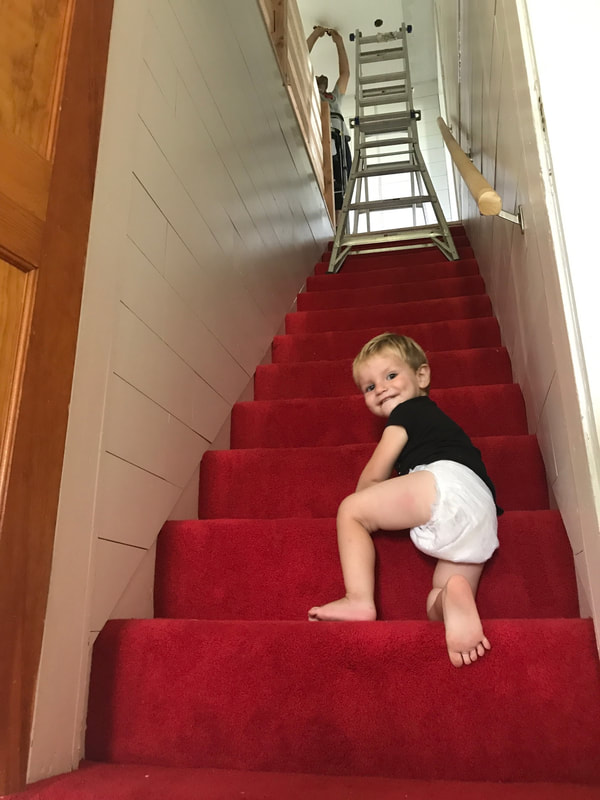 We would just keep working in sections, Danny pasting while I held up the paper, slowly shuffling down. Once you get to the half way point of a strip it gets easier. The hardest part is getting that first section up.  Once a strip is up, cut away any excess with the knife and give the wallpaper another once over for bubbles. Then it is on to strip number two. With this paper there is no overlap or matching patterns, just butt the edges right up next to each other and keep going. However, this is why it is so important that the first strip be straight. Since the first strip will guide all the others, you don't want it to be crooked.  Just line up the new strip next to the previous one. No need to overlap Once it's all up and dried Danny went back and cut out the spots for the smoke alarm and light.  Although we didn't need to paint the ceiling in the nursery, this time around we may go back and paint the hallway ceiling white. There are a few dirty spots here and there from storing it, and with one roll being leftover from the nursery project and one new roll, there is a very slight color difference, but only something we notice. Our ReviewMy biggest concern was will it look cheap? On a ceiling the wallpaper looks great! Its fresh, clean, and hides our plaster ceilings nicely. Here is it compared to our actual bead board ceilings in the mudroom.
However, despite my love for it on the ceiling, I wouldn't use it on a wall. The problem is, the wallpaper feels cheap, it doesn't look cheap, but when you touch it, which you would do on a wall, you would know instantly the wall is an imposter. Wood and foam don't really feel the same, so on a wall it would be more noticeable that it wasn't real, but when it is 11 feet up in the air, no one can notice the difference. Most people are astonished when they hear its a wallpaper. Just look at that before and after! What a difference it made and we finally got rid of our final boob light. Whoop! Whoop!
0 Comments
Your comment will be posted after it is approved.
Leave a Reply. |

About The KelleysThe Choosing Home PodcastCategories
All
Archives
September 2022
|

 RSS Feed
